Replacing a keypad lock is an easy DIY project that boosts your home's security quickly. First, gather your tools—a screwdriver, a compatible replacement lock, and safety gloves. Remove the old lock by unscrewing it and disconnecting any wiring if it's electronic. Next, insert the new lock's cylinder into the door and secure it as per the manufacturer's instructions. Don't forget to program your new codes for easy access. Finally, run a functionality test to verify everything works smoothly. For detailed steps and troubleshooting tips, you might want to explore further.
Key Takeaways
- Gather essential tools like a screwdriver, replacement lock, measuring tape, and safety gloves before starting the replacement process.
- Carefully remove the old lock by detaching screws and disconnecting any wiring or batteries.
- Insert the new lock's cylinder, secure it with screws, and ensure proper alignment before attaching the interior assembly.
- Program the new keypad lock by following the manufacturer's instructions and testing the functionality with selected access codes.
- Regularly update access codes and perform maintenance, including battery replacements, to ensure optimal lock performance.
Understanding Keypad Locks
When you think about security, keypad locks often come to mind as a convenient and reliable option. These locks offer a blend of modern technology and accessibility, making them a popular choice for homes and businesses alike. Understanding keypad locks is essential for anyone looking to enhance security while serving others effectively. They typically require a numeric code to open, eliminating the need for traditional keys, which can be lost or stolen.
Additionally, knowing the difference between re-keying and reprogramming smart locks can be beneficial when managing access codes and security features.
When you're ready to take the plunge into replacing a keypad lock, you'll find the process straightforward. Most keypad locks are battery-operated and designed with user-friendliness in mind. This means you can often install or replace one without extensive technical knowledge.
Familiarizing yourself with the lock's features, such as temporary codes for guests or a built-in alarm for unauthorized access, can considerably improve your security measures.
Additionally, regular maintenance, like changing the batteries and ensuring proper alignment, keeps your keypad functioning well. By understanding keypad locks, you empower yourself to create a secure environment that protects not only your property but also those you serve.
You're making a thoughtful choice that prioritizes safety and convenience.
Tools and Materials Needed
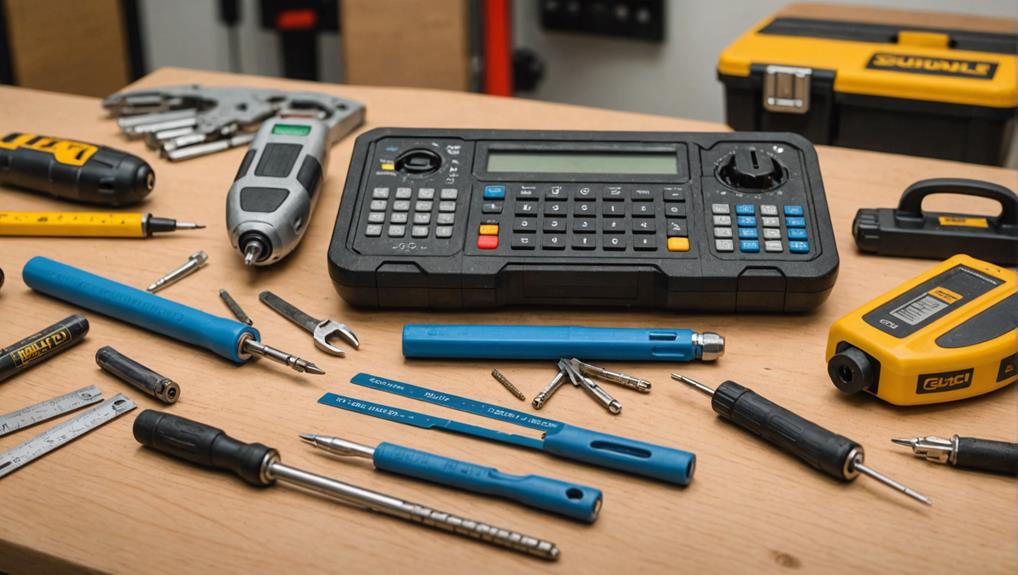
Before you plunge into replacing your keypad lock, gather the right tools and materials to make the process seamless. Having everything at hand not only saves time but also guarantees you can assist someone else in need of a keypad lock replacement.
Here's a handy table to guide you on what you'll need:
| Tool/Material | Purpose | Notes |
|---|---|---|
| Screwdriver | To remove old lock screws | Flat-head or Phillips |
| Replacement Keypad Lock | New lock for installation | Choose a compatible model |
| Measuring Tape | To measure door thickness | Essential for fitting |
With these tools and materials ready, you'll be well-equipped to tackle the project. Remember, the goal is to create a secure environment, not just for yourself but also for those you care about. A successful keypad lock replacement not only enhances your safety but can also provide peace of mind to friends and family. So, let's get started on making your space safer!
Removing the Old Lock
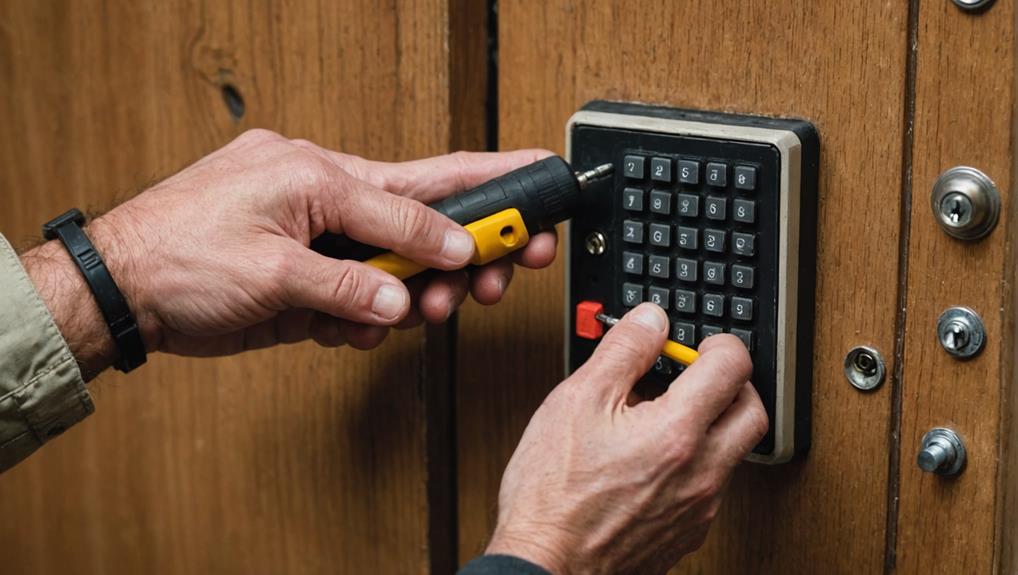
Before you start removing the old lock, gather the necessary tools to make the process smoother, similar to what's outlined in a detailed DIY guide on deadbolt replacement.
You'll want to follow a step-by-step approach to guarantee everything goes as planned.
Don't forget to take into account safety precautions to keep yourself protected during the removal.
Tools Needed for Removal
To successfully remove your old keypad lock, you'll need a few essential tools. Having the right equipment not only simplifies the process but also guarantees you can serve others effectively by providing them with a safe and secure environment.
Here's a handy list of tools you'll want to gather for your keypad lock removal:
- Screwdriver: A flathead or Phillips, depending on your lock's screws.
- Allen Wrench: Often necessary for locks with hex screws.
- Pliers: For gripping any stubborn components.
- Utility Knife: To carefully cut away any old mounting tape or seals.
- Flashlight: For illuminating dark areas around the lock.
With these tools in hand, you'll be well-prepared to tackle the removal of your old lock.
Remember, taking the time to gather everything beforehand not only makes the job easier but also guarantees you can assist others more efficiently.
Whether it's for your own home or someone else's, a smooth keypad lock removal sets the stage for a successful replacement.
Happy DIYing!
Step-by-Step Process
Removing your old keypad lock involves a straightforward process that can be completed with just a few simple steps.
First, locate the screws on the interior side of the lock. Use your screwdriver to remove these screws, being careful to keep them in a safe place for potential future use. Once the screws are out, gently pull the interior portion of the lock away from the door.
Next, you'll need to disconnect any wiring. This is often just a matter of unplugging the connector. If your lock has a battery compartment, remove the batteries as well.
With the wiring disconnected, you can now remove the exterior part of the lock. Simply pull it away from the door, and it should come free without much resistance.
As you work through this keypad lock installation process, remember to take your time and verify each step is done carefully. If you encounter any stubborn screws or components, don't hesitate to apply a little extra force, but always be cautious to avoid damaging your door.
With the old lock removed, you're now ready to install your new keypad lock!
Safety Precautions to Consider
Safety is paramount when tackling the removal of your old keypad lock. Before diving into the electronic lock replacement process, take a moment to contemplate essential precautions.
By prioritizing safety, you'll not only protect yourself but also guarantee a smooth changeover for anyone who may use the lock in the future.
Here are some key precautions you should follow:
- Wear safety gloves to protect your hands from sharp edges.
- Unplug any power sources to avoid electrical hazards.
- Keep tools organized to prevent accidents and confusion.
- Secure the area around the lock to avoid tripping hazards.
- Have a buddy on hand to assist you, especially if you're unsure about any steps.
Installing the New Lock
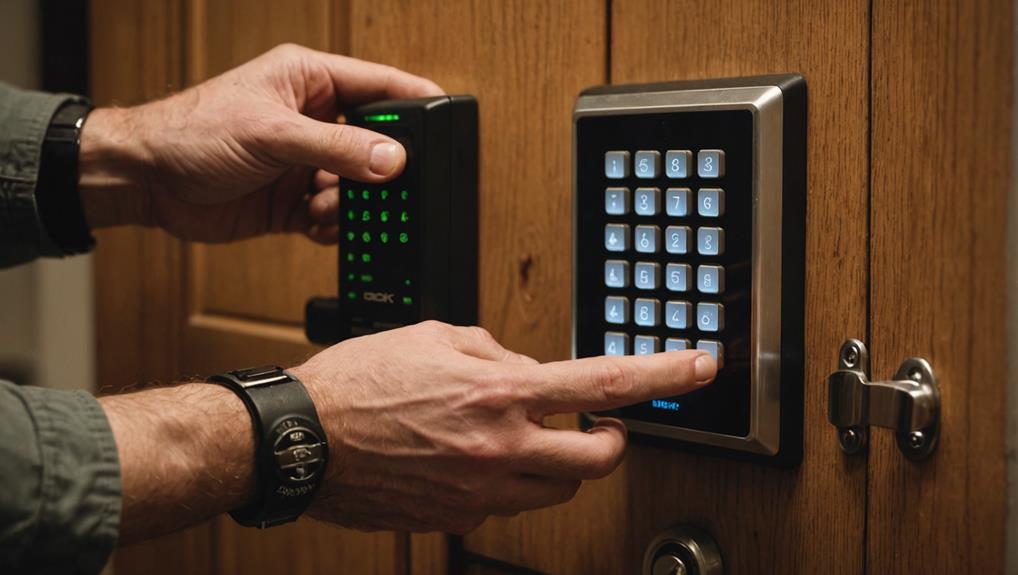
Installing the new keypad lock is a straightforward process that enhances your home's security. Before you begin, it's a good idea to familiarize yourself with essential tools for lock installation, such as a screwdriver and a level, as well as techniques for lock re-keying if you're considering changing the cylinder later. Confirm you have the manufacturer's instructions on hand for reference.
Begin by inserting the new lock's cylinder into the door from the outside. Align it carefully, paying attention to the orientation indicated in the manual. Once it's positioned, secure it using the provided screws. It's important to tighten these screws snugly, but avoid overtightening, as this could damage the door or lock.
Next, install the interior assembly of the smart keypad lock. Align it with the exterior portion you just secured, confirming the wiring is properly routed.
Once aligned, attach it with the screws provided. If your lock has a battery compartment, be sure to install the batteries at this stage.
Programming the New Keypad
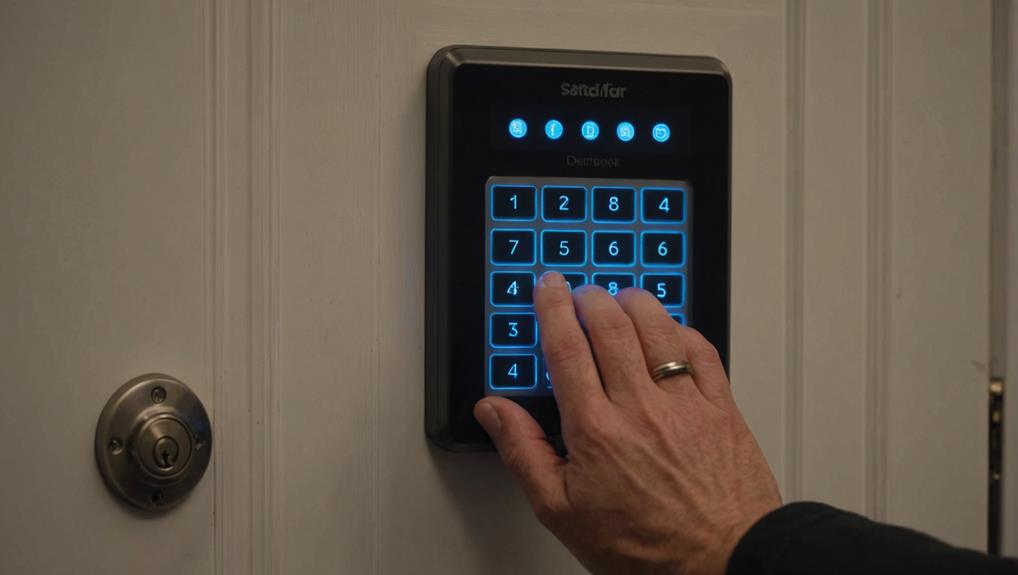
Programming the new keypad is essential for guaranteeing your lock functions properly and securely.
Smart locks can offer increased convenience and security compared to traditional locks, making it worth considering their benefits before installation weighing the benefits.
You'll want to follow a few straightforward steps to get your DIY keypad lock set up just right. Here's how to do it:
- Locate the programming button: This is usually found on the back or inside of the lock.
- Press and hold the button: Keep it pressed until you hear a beep, indicating the lock is in programming mode.
- Enter your desired code: Choose a code that's easy for you to remember but hard for others to guess.
- Confirm the code: You'll need to enter the code again to verify it's been set correctly.
- Test the lock: Try locking and opening the door with your new code to ensure everything works smoothly.
Troubleshooting Common Issues
When your new keypad lock doesn't respond as expected, it can be frustrating. Don't worry; troubleshooting common issues is often straightforward. First, check the power source if you're using an electronic keypad lock. Low batteries are frequently the culprit. If you have a mechanical keypad lock, verify that the mechanism isn't jammed or obstructed.
Here's a handy table to help you identify potential problems:
| Issue | Possible Cause | Solution |
|---|---|---|
| Lock doesn't respond | Low battery (electronic) | Replace batteries |
| Keypad is unresponsive | Jammed mechanism (mechanical) | Clear any obstructions |
| Incorrect code entry | Wrong user code | Re-enter the correct code |
If your keypad still fails to work, consult the manufacturer's manual for specific troubleshooting tips. Remember, understanding the difference between mechanical and electronic keypad locks can guide your approach. With a little patience and effort, you'll have your lock functioning smoothly in no time, guaranteeing your home remains secure and welcoming for those you serve.
Frequently Asked Questions
How Do I Choose the Right Keypad Lock for My Door?
Choosing the right keypad lock for your door involves considering your security needs and convenience.
Think about the features you want, like a backlit keypad or smartphone compatibility. Check the lock's durability and whether it fits your door's thickness.
Look for a brand with good reviews and warranty options. Keep your budget in mind, too.
Ultimately, pick a lock that meets your lifestyle while providing reliable security for your home.
Can I Replace a Keypad Lock Without Professional Help?
They say, "A little knowledge goes a long way."
Yes, you can definitely replace a keypad lock without professional help! With some basic tools and a bit of patience, you'll find it's a manageable task.
Just follow the manufacturer's instructions carefully, and don't rush the process.
By doing this yourself, you're not only saving money but also gaining a sense of accomplishment while enhancing your home's security.
Go for it!
What Safety Precautions Should I Take During Installation?
When you're installing a lock, it's essential to prioritize safety. Always wear gloves to protect your hands from sharp edges and debris.
Make certain to disconnect power if you're working with electronic components. Use proper tools and follow the manufacturer's instructions closely to avoid accidents.
Keep your workspace tidy to prevent tripping hazards, and consider having someone nearby to assist you if needed.
Taking these precautions guarantees a smooth and safe installation process.
How Often Should I Change the Batteries in My Keypad Lock?
You wouldn't want to be locked out like a character in a suspense novel, right?
To avoid that, check your keypad lock's batteries every six months. If you notice any lag when entering codes or hear a low-battery alert, it's time to swap them out.
Regularly replacing the batteries guarantees your lock works smoothly, keeping your home secure and giving you peace of mind while you focus on serving others.
Are Keypad Locks Weather-Resistant for Outdoor Use?
Yes, most keypad locks are designed to be weather-resistant, making them suitable for outdoor use.
You should check the manufacturer's specifications to verify yours can withstand various elements like rain, snow, and extreme temperatures.
If you're using it outside, consider installing it in a sheltered location to prolong its lifespan.
Regular maintenance, like cleaning and checking for signs of wear, will help keep it functioning well through all seasons.
Conclusion
Now that you've swapped out your old keypad lock for a shiny new model, you've turned your door into a fortress with just a few simple steps. Like a sculptor chiseling away at marble, you've crafted a safer space for yourself. Remember, every click of that keypad is a step toward peace of mind. If any hiccups arise, don't fret—you're now equipped to tackle them. Your home is your castle, and you hold the keys to its security!

