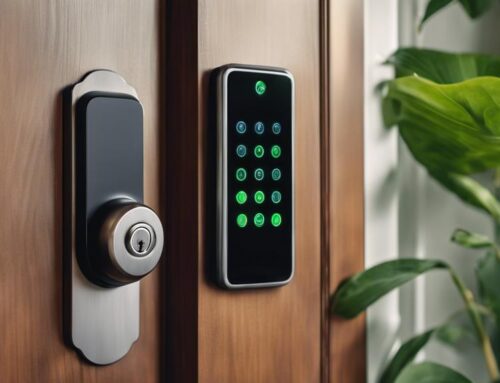
Replacing a deadbolt lock is a straightforward process you can tackle yourself. First, gather essential tools like screwdrivers and a drill. Start by removing the old deadbolt and inspecting the door hole for any damage. Make certain the new lock's dimensions match before installation. Align the deadbolt in the hole and secure it with screws. Once installed, test the lock to verify it operates smoothly. Finally, check the strike plate for alignment. This simple guide sets you up for success, but there's more you can learn to refine your installation skills.
Key Takeaways
- Gather essential tools like screwdrivers, a drill, and a flashlight for a smooth deadbolt replacement process.
- Remove the old deadbolt by unscrewing it and extracting the lock assembly carefully.
- Inspect the door hole for damage and ensure it matches the new deadbolt's dimensions for proper installation.
- Prepare the new lock by confirming compatibility and familiarizing yourself with its design and installation instructions.
- Install the new deadbolt, securing it properly, and test its functionality to ensure smooth operation and alignment with the strike plate.
Gather Necessary Tools
Before you begin replacing a deadbolt lock, it's essential to gather the necessary tools. Having the right deadbolt lock tools on hand not only makes your task easier but also guarantees you can serve others effectively by providing them with a secure home.
Using the correct tools is imperative, as it minimizes the risk of damage to the door or lock mechanism and guarantees a smooth installation process. Improper tools can lead to stripped screws or misaligned locks, compromising security and functionality.
Start by collecting a screwdriver, typically a flathead and a Phillips, as these are fundamental for deadbolt removal. You'll also need a tape measure to confirm the new lock fits perfectly in the door.
Don't forget a drill, as it may be necessary for any new holes or adjustments. A chisel can come in handy if you need to create or refine the recess for the deadbolt.
A level is another useful tool to verify that your new lock is installed straight, contributing to its effectiveness and longevity. Additionally, consider the importance of using the right tools for lock replacement the risks of using the wrong ones.
Finally, consider having a flashlight on hand. This can help you see any tricky spaces more clearly, allowing for a smoother process.
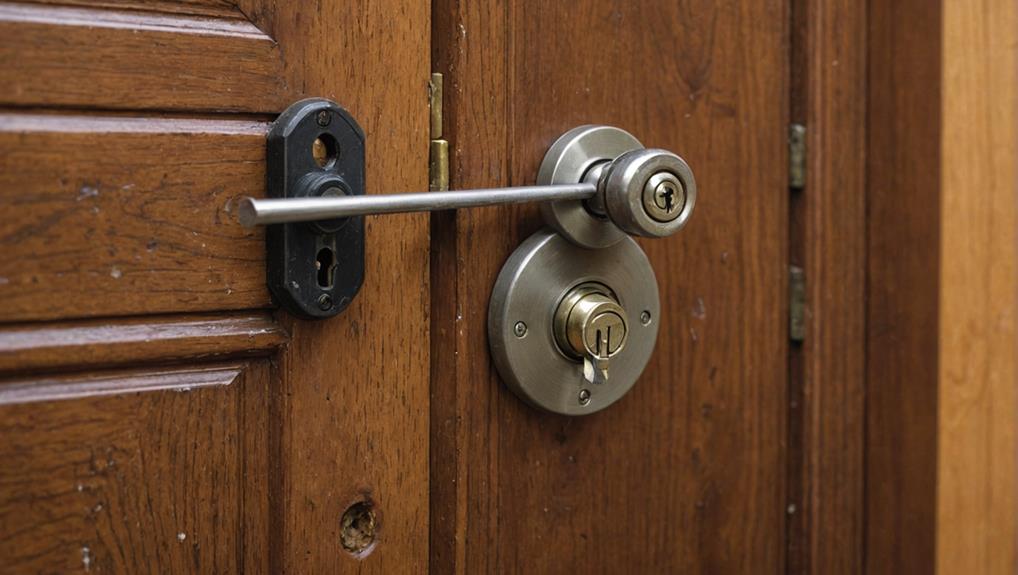
Remove the Old Deadbolt

To remove the old deadbolt, you'll first need to gather your tools.
Make sure you have a screwdriver and any other necessary tools on hand before starting the process.
Next, unscrew the lock assembly carefully, making sure not to lose any parts. This is essential, especially when dealing with mechanical and electronic models.
Gather Necessary Tools
When you're ready to tackle the task of removing the old deadbolt, gathering the necessary tools is an essential first step. Having the right equipment not only makes the job easier but also guarantees you can efficiently help others who might need assistance with their deadbolt lock replacement in the future.
Start by collecting a screwdriver—typically, a flathead or Phillips will do the trick. You'll also want a pair of pliers, as they can be invaluable for gripping and pulling stubborn components. A tape measure can help you confirm the new deadbolt fits perfectly, so have that handy too.
If you're working on a metal door, a drill might come in handy for removing screws that are particularly tough. Don't forget a flashlight for better visibility, especially if you're working in dimly lit areas.
Finally, consider wearing gloves to protect your hands during the process. By preparing with these tools, you'll be ready to jump into how to replace a deadbolt smoothly.
Remember these deadbolt installation tips as you move forward, guaranteeing a seamless shift for everyone involved.
Unscrew Lock Assembly
Now's the time to unscrew the lock assembly and remove the old deadbolt. This step is essential in your DIY deadbolt lock project, as it sets the stage for a smooth deadbolt lock installation. Grab your screwdriver and let's get started.
- Confirm the door is open for easy access.
- Locate the screws on the interior side of the lock.
- Use the appropriate screwdriver to unscrew each screw.
- Keep the screws in a safe place for later use, if needed.
As you unscrew the lock assembly, be mindful of any parts that might fall. It's helpful to have a small container nearby to catch any loose screws or components.
Once all screws are removed, gently pull the lock assembly free from the door. If you encounter any resistance, double-check that all screws are indeed unscrewed.
With the old deadbolt out, you're one step closer to enhancing your home's security. This is a great opportunity to share your newfound knowledge with others, helping them through similar DIY projects.
Stay focused, and you'll have that new deadbolt installed in no time!
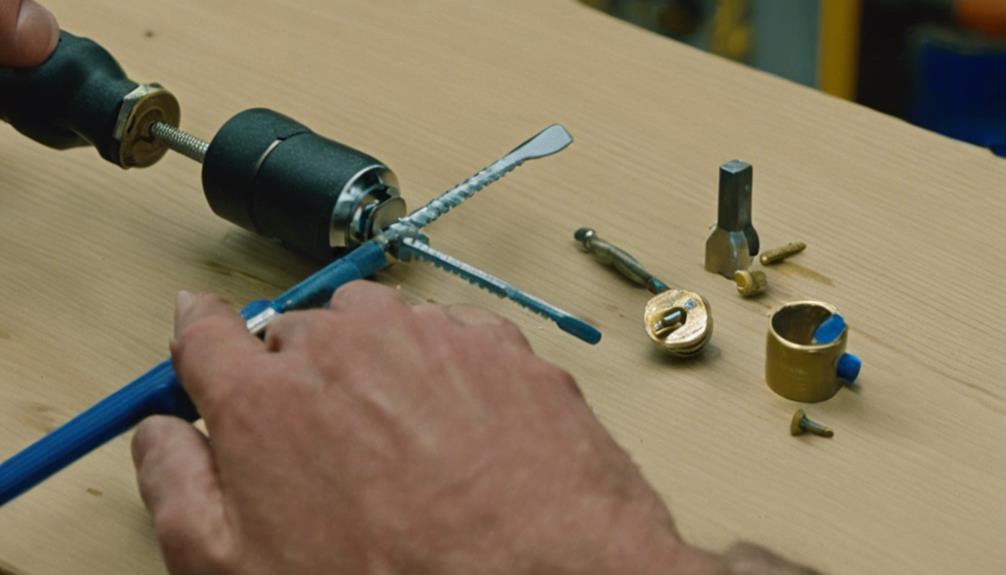
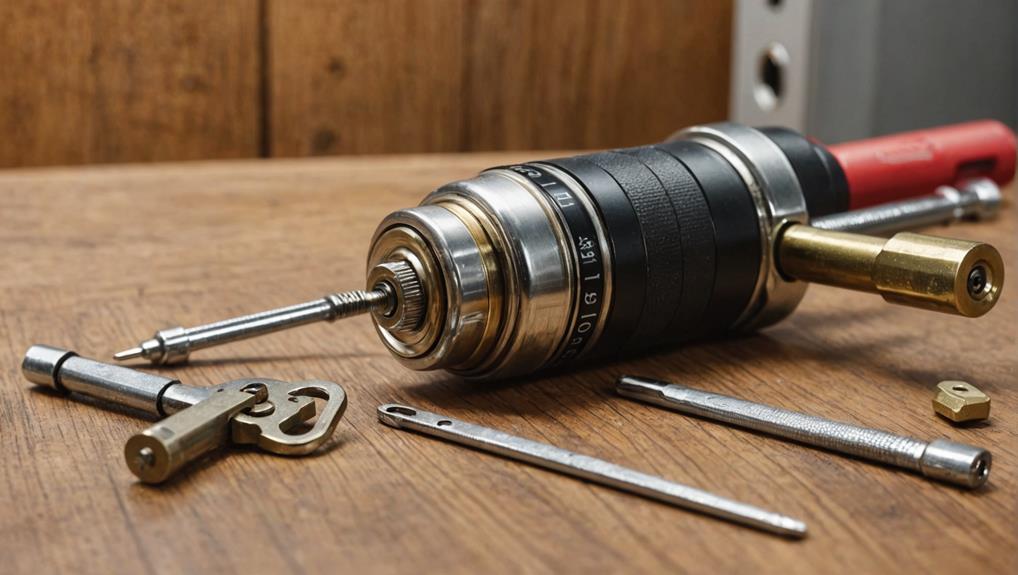
Extract Deadbolt Cylinder
With the lock assembly removed, it's time to extract the deadbolt cylinder from the door.
Start by locating the small retaining screw that holds the cylinder in place. Use a screwdriver to carefully unscrew it, making sure to keep the screw in a safe spot for later use.
Once the screw is removed, gently push the cylinder out from the edge of the door. You may need to wiggle it slightly to break any resistance.
Always be cautious, as you want to avoid damaging the door frame or the surrounding area while extracting the cylinder.
As you pull the cylinder out, take a moment to inspect it. Look for any signs of wear or damage that could have contributed to your lock issues.
This is also a good opportunity to clean the area around the cylinder before you install the new one.
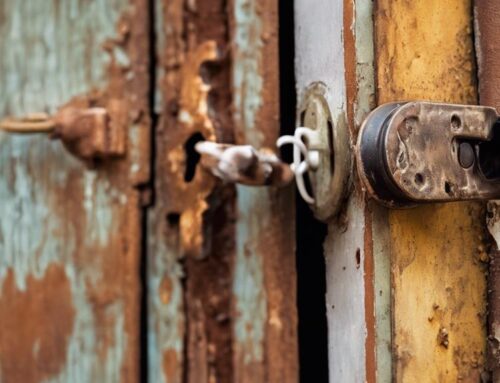
Inspect the Door Hole
Before you install a new deadbolt lock, it's crucial to inspect the door hole for any damage or irregularities. This step guarantees that your new lock will fit securely and function properly, enhancing the safety of those you care for.
Take a moment to thoroughly examine the area around the hole. Look for any signs of wear or distortion that could affect the lock's performance.
Here are some key aspects to check:
- Cracks or Splits: Small fractures can compromise the integrity of the door.
- Rust or Corrosion: Metal parts around the hole can weaken over time, affecting stability.
- Size and Shape: Verify the hole's dimensions match the specifications of your new deadbolt.
- Alignment Issues: Check if the hole is aligned with the strike plate on the door frame.
Addressing these issues before installation can save you time and effort later.
If you find any significant damage, consider repairing the door first or consulting a professional. By doing this, you're creating a secure environment for everyone who enters your space.
Prepare the New Lock
Before you start, make certain you've chosen the right lock for your door.
If you're considering a new knob with a built-in lock, you might want to check out a DIY guide to replacing a door knob to gather some insights.
Gather all the necessary tools, like a screwdriver and measuring tape, to make the process smoother.
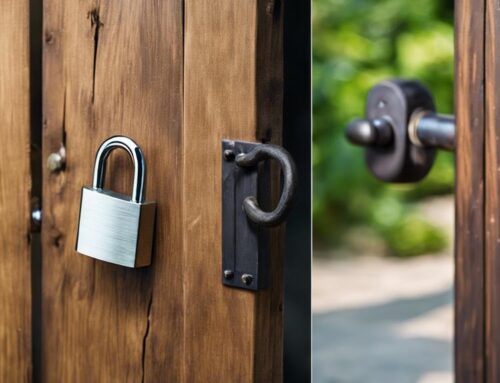
Choose the Right Lock
Choosing the right lock for your deadbolt replacement is essential to guaranteeing your home's security. A reliable deadbolt not only protects your loved ones but also provides peace of mind.
When selecting a new lock, consider the following key factors:
- Security Rating: Look for locks with high ANSI ratings for peak security.
- Material: Choose solid materials like brass or stainless steel for durability.
- Style: Verify the lock matches your door's aesthetic while serving its purpose.
- Brand Reputation: Opt for trusted brands known for quality and reliability.
Gather Necessary Tools
Once you've selected the right deadbolt lock, the next step is to gather the necessary tools for the installation. Having the right equipment on hand makes the process smoother and guarantees you can complete the job efficiently.
Start with a screwdriver—typically a flathead or Phillips, depending on your lock. You'll also need a drill with bits for creating or enlarging holes if necessary.
A tape measure is essential for verifying the lock fits perfectly into your door. If you're replacing an existing lock, a chisel may be helpful for adjusting the strike plate or mortise. You might want a hammer on hand, too, especially if you need to tap anything into place carefully.
Additionally, having a flashlight can help you see better in darker spaces. It's wise to keep a cloth or rag nearby for any debris or dust that might accumulate during the process.
Read Installation Instructions
As you plunge into the installation process, it's vital to read the installation instructions that come with your new deadbolt lock.
These instructions are designed to guide you through the steps, ensuring you install the lock correctly and safely. Each lock can vary in design and mechanism, so taking the time to familiarize yourself with the specifics is important.
Here are a few key things to look for in the installation instructions:
- Parts List: Make sure you know all the components included in the package.
- Required Tools: Check if any additional tools are needed beyond what you've gathered.
- Step-by-Step Guidance: Follow the outlined steps for proper installation, ensuring no detail is overlooked.
- Safety Precautions: Pay attention to any warnings or precautions to avoid potential mishaps.
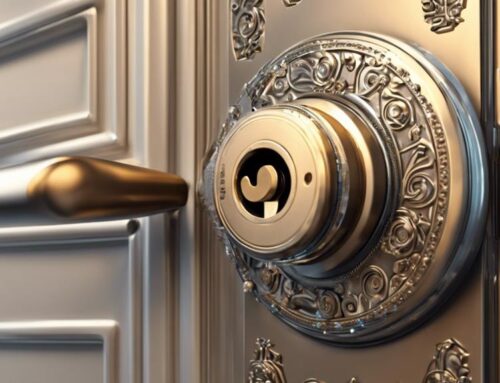
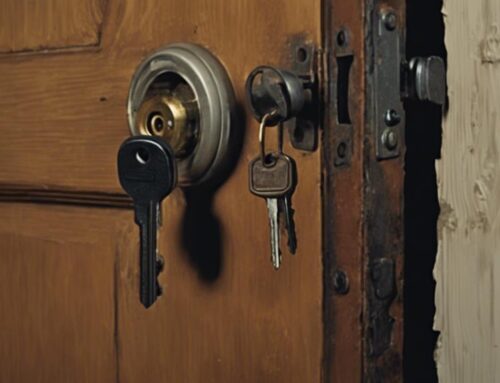
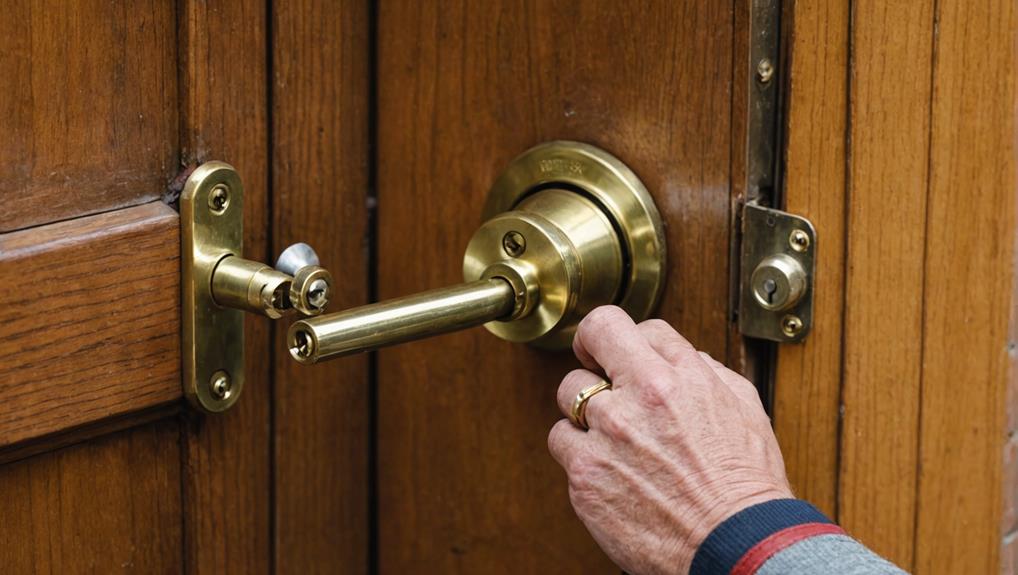
Install the New Deadbolt
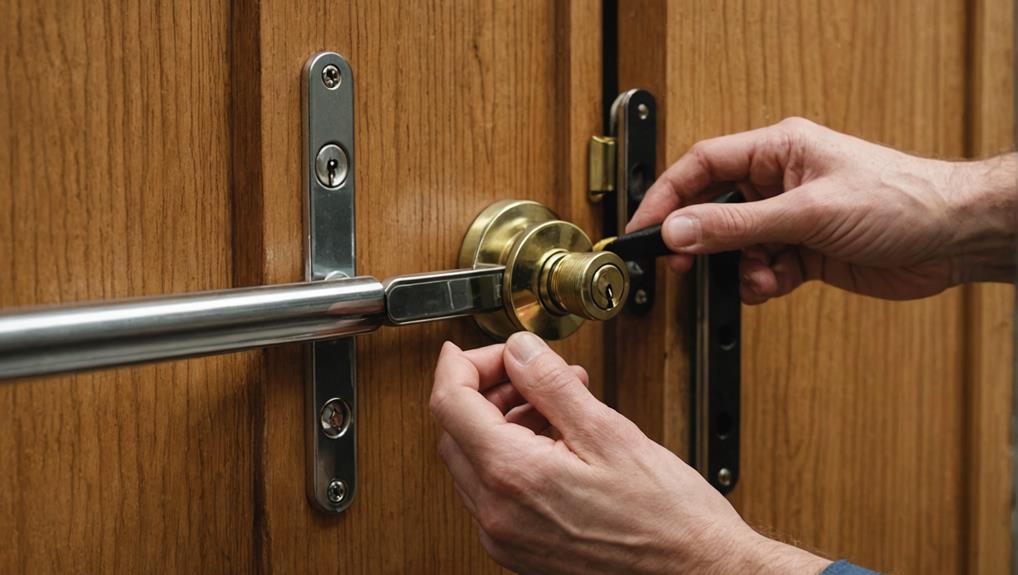
Installing the new deadbolt is a straightforward process that can enhance your home's security. Begin by aligning the deadbolt with the existing hole in your door. Make sure that the lock's faceplate is flush against the door surface. Once aligned, insert the deadbolt into the hole, ensuring the tailpiece fits snugly into the hole.
Next, use the provided screws to secure the deadbolt in place. It's crucial to screw them in tightly to prevent any movement. After that, attach the interior turn piece by inserting it through the hole on the inside of the door and aligning it with the deadbolt. Secure it by tightening the screws that hold it in place.
To help you keep track of the steps, refer to the table below:
| Step | Action |
|---|---|
| Align Deadbolt | Position in the hole |
| Secure with Screws | Tighten for stability |
| Attach Turn Piece | Insert and secure |
Once everything is secured, your new deadbolt should be ready for use. Enjoy the peace of mind that comes with enhanced security!
Test Lock Functionality
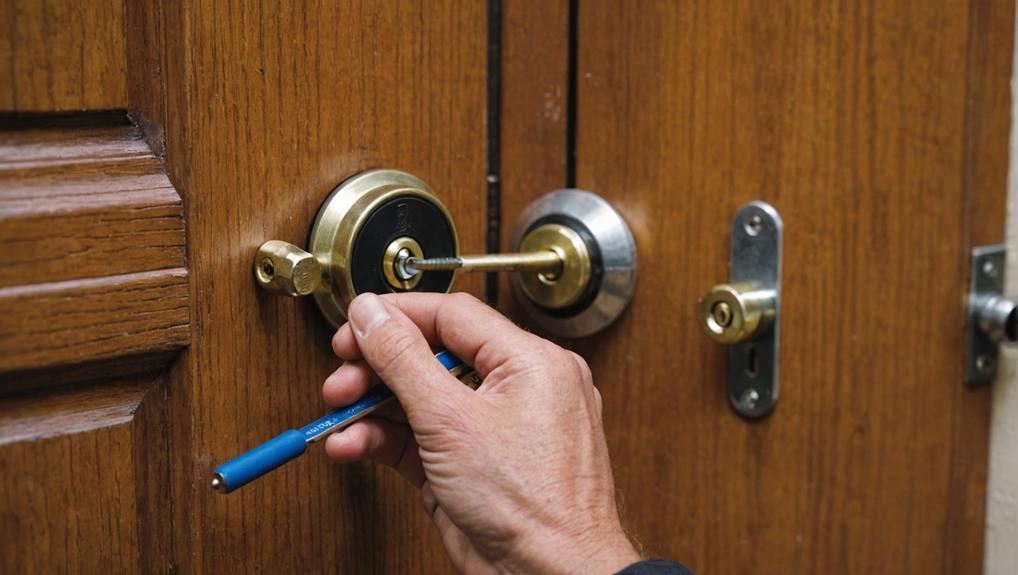
Testing the lock functionality is essential to guarantee your new deadbolt operates smoothly and securely. After installation, take a moment to verify everything works as it should.
A properly functioning deadbolt not only enhances your security but also provides peace of mind to those you serve. Remember, the lifespan of a deadbolt can vary, and knowing when to replace your locks is vital for peak security when to replace your locks.
Here's how to test your new deadbolt:
- Lock and release with the key: Make sure the key turns easily in both the locked and released positions.
- Use the thumb turn: If your deadbolt has a thumb turn, check that it rotates without resistance.
- Check alignment: Verify the bolt fully extends into the strike plate when locked and retracts completely when released.
- Test the door fit: Close the door and lock it, verifying it aligns well without gaps.
Secure the Lock Components
With all the components in place, securing the lock is crucial for ideal performance and safety.
Begin by aligning the deadbolt and the strike plate to guarantee they fit snugly together. It's important to choose a high-quality lock that meets your security needs, as different types of locks offer varying levels of protection lock replacement options.
Use the screws provided with your lock; they're designed to hold everything in place effectively. Insert the screws into the mounting holes of the deadbolt, tightening them firmly but not over-tightening, which could strip the screws or damage the door.
Next, attach the strike plate on the door frame. It should be positioned so that the bolt extends fully into the plate when locked. Secure it with screws, making sure it's flush against the frame. This guarantees durability and reduces the risk of forced entry.
After securing both the deadbolt and strike plate, double-check that the lock operates smoothly. Test it several times to verify it properly locks and releases without any resistance.
Frequently Asked Questions
What Type of Deadbolt Should I Choose for My Door?
When choosing a deadbolt for your door, consider the level of security you need. A single-cylinder deadbolt is great for standard doors, while a double-cylinder version offers added protection against forced entry.
If you want convenience, look into smart deadbolts that allow keyless entry. Don't forget to match the style to your door and home decor.
Ultimately, your choice should enhance both security and aesthetics, ensuring peace of mind for you and your loved ones.
Can I Replace a Deadbolt Without Professional Help?
Yes, you can replace a deadbolt without professional help!
It's a manageable task if you're comfortable with basic tools. First, gather everything you'll need, like a screwdriver and a new deadbolt.
Then, follow the manufacturer's instructions for removing the old lock and installing the new one.
Just take your time and double-check your work. You'll feel accomplished knowing you've improved your home's security all on your own!
How Often Should I Replace My Deadbolt Lock?
You should consider replacing your deadbolt lock every 5 to 7 years, or sooner if you notice wear and tear.
Regularly check for signs of rust, difficulty turning the key, or any damage.
If you've recently moved into a new place, it's wise to replace the lock immediately for security.
Keeping your lock updated not only protects your home but also gives you peace of mind, ensuring you're safe and secure.
Are There Differences Between Single and Double Cylinder Deadbolts?
Yes, there are key differences between single and double cylinder deadbolts.
A single cylinder deadbolt uses a key on the outside and a thumb turn on the inside, making it convenient for quick exits.
In contrast, a double cylinder requires a key on both sides, enhancing security against intruders who may access the thumb turn.
Depending on your needs, you can choose the right type to keep your home safe while serving others effectively.
What Should I Do if the New Deadbolt Doesn't Fit?
If the new deadbolt doesn't fit, don't worry; it happens to the best of us.
Picture yourself standing there, tools in hand, ready to tackle this challenge.
First, check the size of the hole—sometimes, it needs a little enlargement.
If the deadbolt's too wide or narrow, you might need to adjust it or consider a different model.
Remember, patience is key.
You're doing great, and you'll get that lock fitting perfectly in no time!
Conclusion
Replacing a deadbolt lock might seem intimidating, but you've got the steps down now! Imagine this: after a long day, you come home to find your lock's been sticking. By following this guide, you easily swap it out for a new one, restoring peace of mind and security. Now, you can kick back, knowing your home's protected. So, grab those tools and get started—your front door will thank you!