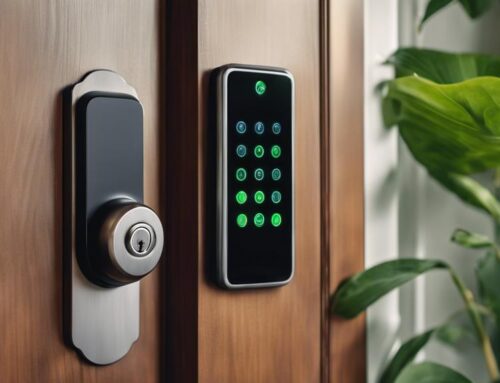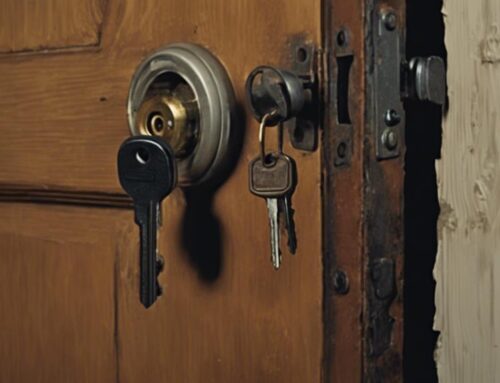
To use a lock re-keying kit, start by gathering your tools: a re-keying kit, screwdrivers, and a flashlight. First, remove the lock cylinder by unscrewing it and gently pulling it out. Next, choose the new pins based on your new key's cuts and use a pinning tool to insert them into the cylinder. After that, reassemble the lock, ensuring everything aligns correctly. Finally, test the new key to confirm smooth operation. With these steps, you can easily enhance your home's security. Keep going to find more tips and tricks to perfect your lock re-keying skills.
Key Takeaways
- Familiarize yourself with the components of the re-keying kit, including pins, followers, and the key gauge for effective re-keying.
- Prepare a clean, well-lit workspace and gather all necessary tools to streamline the re-keying process.
- Remove the lock cylinder by locating and unscrewing the holding screws, then gently pull out the cylinder.
- Select appropriate pins that match the cuts of the new key, and insert them using a pinning tool for proper alignment.
- Test the reassembled lock with the new key, ensuring smooth operation and addressing any issues before finalizing the installation.
Understanding Lock Re-keying
Understanding lock re-keying can really simplify your security needs. If you've ever lost a key or moved into a new place, you know how crucial it's to guarantee your space remains secure.
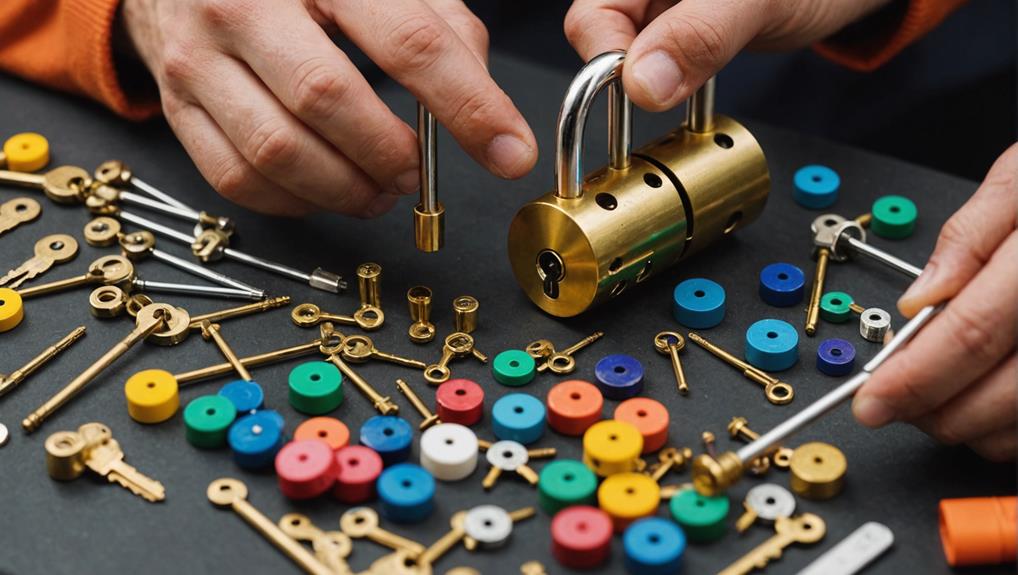
A re-keying kit allows you to change the internal workings of a lock so that a new key will operate it. This process isn't only straightforward but also an effective way to enhance your security without replacing the entire lock.
To get started, make certain you have the right tools, as having the essential tools for rekeying can make the process much easier.
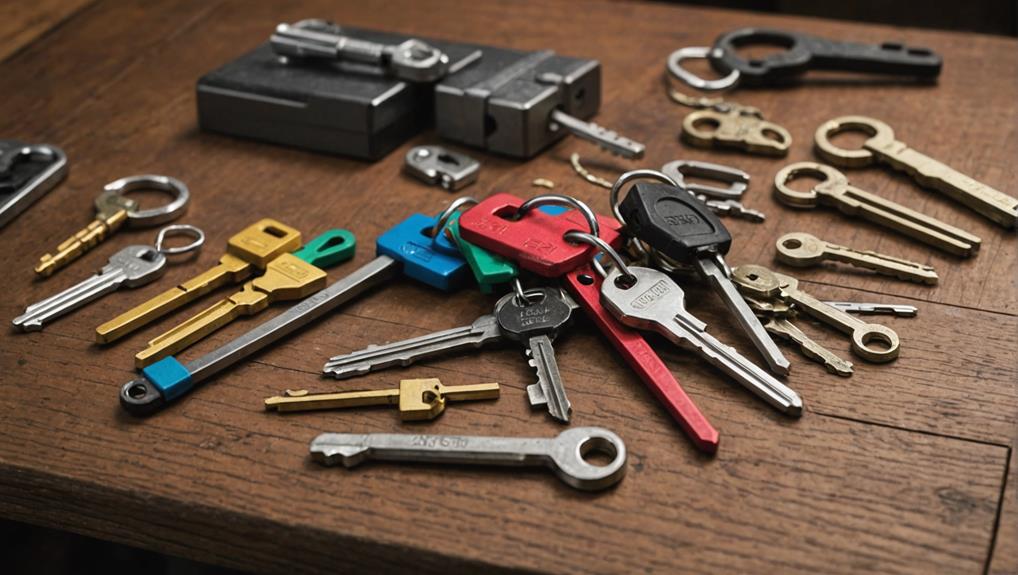
In this beginner's guide to rekeying, you'll discover how to use a rekeying kit with confidence. Start by familiarizing yourself with the components of the kit, which typically includes pins, a follower, and a key gauge.
Gather essential rekeying tips for beginners: first, guarantee you have the correct kit for your lock type. Next, carefully follow the instructions provided, as each lock may have unique steps.
Be patient and take your time; practice makes perfect.
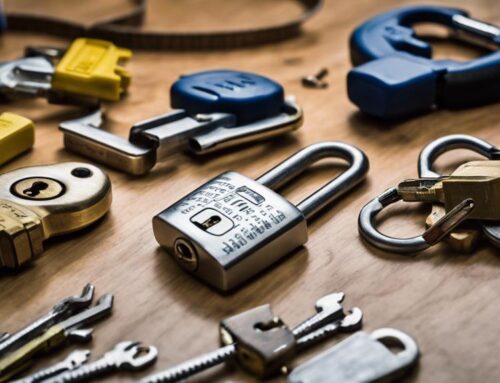
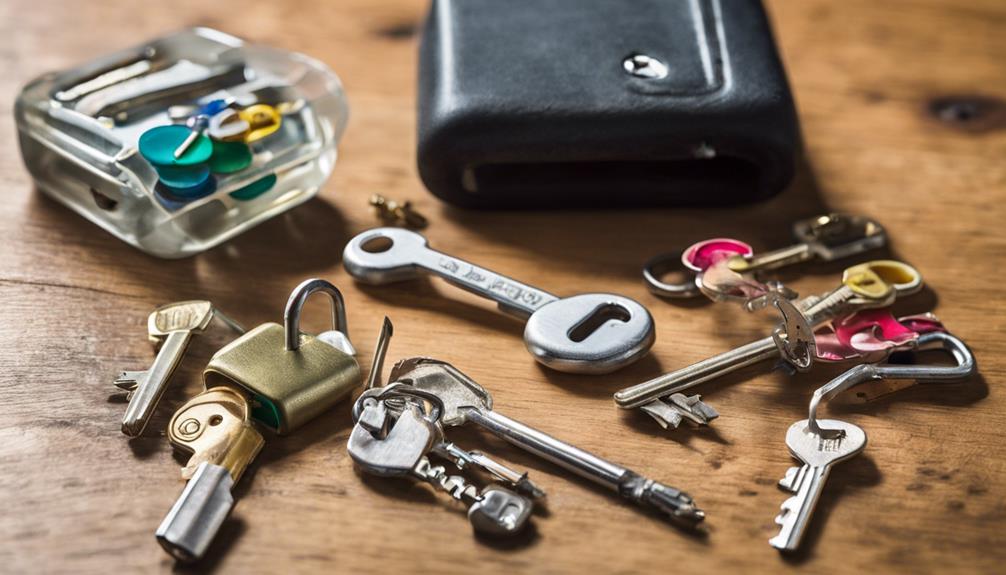
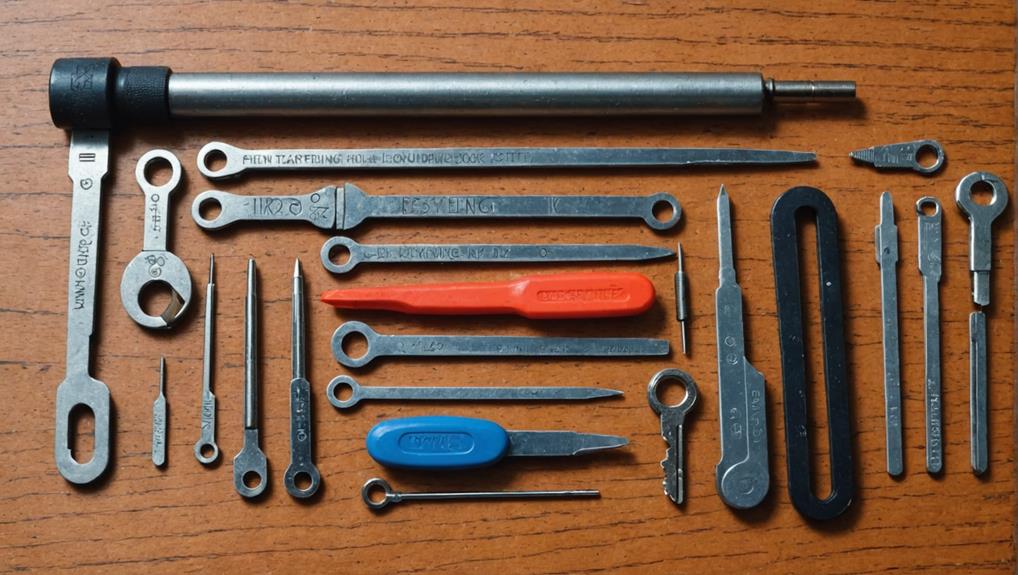
Tools Needed for Re-keying
To successfully re-key a lock, you'll need a few essential tools to get started.
It's important to choose a reliable lock re-keying kit that includes all necessary components, ensuring you have everything you need for the job.
Make sure you have the right safety gear and key cutting supplies on hand to keep the process smooth and safe.
For more tips on purchasing reliable lock re-keying tools, let's go over what you'll need to tackle this project effectively.
Essential Tools Overview
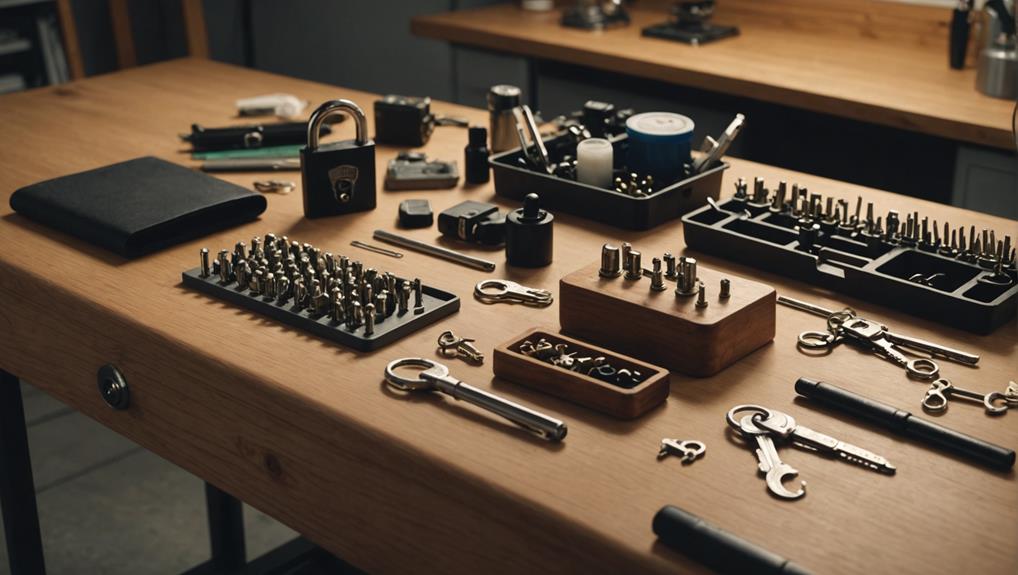
Re-keying a lock requires a few essential tools to guarantee the process goes smoothly and efficiently.
First, you'll need a rekeying kit, which typically includes the necessary pins, springs, and a follower tool. This kit is your best friend, as it contains everything you need to follow the rekeying kit instructions effectively.
A pinning tray is also vital; it helps you keep track of small parts and prevents them from getting lost during your DIY rekeying tutorial.
Next, grab a screwdriver. You'll need a flathead or Phillips screwdriver, depending on your lock type, to remove the lock from its housing.
A pair of tweezers is handy for manipulating small pins and springs, making the process easier and more precise.
Finally, consider using a flashlight to illuminate any hard-to-see areas while you work.
With these tools in hand, you're well-prepared to start your re-keying journey.
Safety Gear Requirements
When tackling a re-keying project, it's important to prioritize safety gear to protect yourself during the process. Using the right equipment guarantees not only your safety but also allows you to serve others effectively by providing secure locks. Here's a quick rundown of essential safety gear:
| Safety Gear | Purpose | Recommended Type |
|---|---|---|
| Safety Glasses | Protects your eyes from debris | Impact-resistant glasses |
| Gloves | Shields your hands from cuts | Nitrile or leather gloves |
| Dust Mask | Prevents inhalation of dust | N95 or similar mask |
Wearing safety glasses can prevent injuries from small particles that may fly during re-keying. Gloves help you grip tools better and protect your hands from sharp edges. A dust mask is especially useful if you're working in a dusty environment or handling old locks that may contain harmful materials.
Key Cutting Supplies
Having the right key cutting supplies is crucial for a successful re-keying project. You'll need a few key tools to make the process smooth and efficient.
First, a key cutting machine is invaluable. It allows you to create precise duplicates quickly. If you don't have access to one, a manual key cutter will work, but it requires more effort.
Next, invest in a good quality file set. These files help refine the key's edges, guaranteeing it fits snugly in the lock. Don't forget about key blanks—these are the foundation of your new keys. Make sure to get the right type that matches the lock you're re-keying.
You'll also need a pair of pliers, especially for handling small parts during the process. A measuring tool will help you confirm accuracy while cutting and filing.
Finally, keep a cleaning cloth handy to wipe down your tools and keys after use.
With these supplies in hand, you'll be well-equipped to help others by re-keying locks efficiently and effectively. Your efforts won't only enhance security but also provide peace of mind to those you serve.
Choosing the Right Kit
Selecting the right lock re-keying kit is essential for guaranteeing a smooth and successful process. With various kits available, you need to take into account a few factors to make the best choice for your needs.
For instance, understanding the types of locks you have will help you determine the appropriate kit. Here's what to look for:
- Compatibility: Verify the kit is suitable for the type of locks you're working with, whether they're Kwikset, Schlage, or another brand.
- Included Tools: Look for a kit that comes with all the necessary tools, such as a follower, pins, and a plug spinner, to make the process easier.
- Number of Pins: Choose a kit with a variety of pins and sizes, as this allows for flexibility when re-keying multiple locks.
- User Instructions: A kit that includes clear, easy-to-follow instructions can save you time and frustration, especially if you're a beginner.
- Quality: Invest in a reputable brand to guarantee durability and reliability, which will serve you and those you help for years to come.
Preparing Your Workspace
Before diving into re-keying your locks, it's important to prepare your workspace for a smooth experience. Start by selecting a clean, flat surface like a table or countertop. This will give you enough room to work and keep your tools organized. Make sure the area is well-lit, as good visibility is vital when handling small parts.
Additionally, familiarize yourself with key tools for professional locksmiths in re-keying, as having the right equipment can make the process more efficient key tools for locksmiths.
Next, gather all your tools and materials. You'll need your re-keying kit, a screwdriver, and perhaps a small dish or container to hold any screws and parts you remove. Keeping everything within reach will help you stay focused on the task at hand, so you're not running back and forth.
If you're working in a shared space, consider placing a cloth or mat down to protect the surface and catch any small pieces that might fall. This shows respect for your surroundings and makes cleanup easier later on.
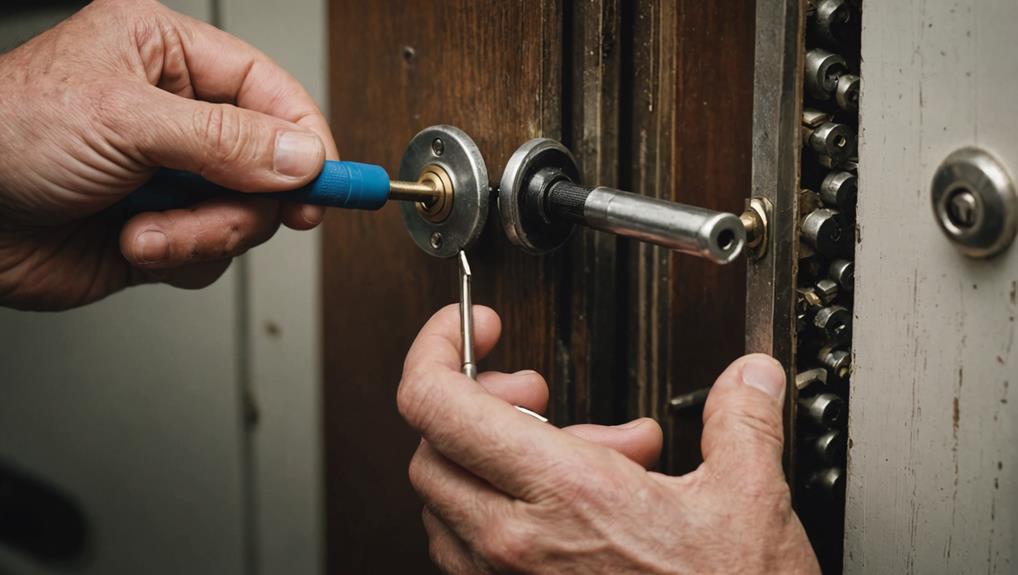
Removing the Lock Cylinder
With your workspace prepared and all tools at hand, you're ready to start removing the lock cylinder. This step is essential in the re-keying process, and you'll want to guarantee you do it carefully to avoid damage.
Before starting, it's helpful to familiarize yourself with the lock mechanism; mastering lock cylinder replacement can provide you with valuable insights on the components involved.
First, check that you've got the right tools. You'll typically need:
- A screwdriver (flathead or Phillips, depending on your lock)
- A tension wrench
- A pinning kit or container for the pins
- Safety glasses for protection
- A flashlight to see inside the lock
Begin by locating the screws that hold the cylinder in place. Usually, these are found on the side or back of the lock. Use your screwdriver to remove them, but be gentle—stripping the screws can complicate things.
Once the screws are out, you'll gently pull the cylinder from the housing. If it's stuck, a little wiggle can help free it without force. Remember to keep the cylinder upright to avoid losing any internal components.
Now that you've successfully removed the lock cylinder, you're one step closer to re-keying it and serving others by enhancing their security!
Disassembling the Lock
Before you start disassembling the lock, gather all the necessary tools like a screwdriver and pliers.
A DIY guide can help you understand the components better.
Once you have everything, carefully remove the lock cylinder to access the inner components.
This step is essential for a successful re-keying process.
Gather Necessary Tools
To successfully disassemble your lock, you'll need a few essential tools at your side. Having the right equipment makes the process smoother and guarantees you can serve others effectively by re-keying locks as needed.
Here's what you should gather before you start:
- Screwdriver Set: A small Phillips and flathead screwdriver will help you remove screws from the lock.
- Tweezers: These come in handy for handling small lock components, making it easier to avoid any accidental damage.
- Lock Pick Tools: If you encounter any stubborn pins, having these tools can assist in releasing the mechanism.
- Flashlight: A bright light will help you see inside the lock better, especially in tight or dark spaces.
- Container for Parts: Use a small bowl or tray to keep all the screws and components organized during the disassembly.
Once you've gathered these tools, you're well on your way to efficiently disassembling the lock.
Remove Lock Cylinder
Removing the lock cylinder is an essential step in the re-keying process. To begin, make sure you've got the right tools handy, like a screwdriver and possibly a pin tumbler removal tool.
Start by locating the set screw on the side of the lock. This screw usually holds the cylinder in place. Use your screwdriver to gently loosen it, but don't remove it completely just yet.
Once the set screw is loose, you can turn the key in the lock to a specific position—often the 6 o'clock position. This aligns the pins inside the cylinder, allowing you to pull it out smoothly.
After doing this, you can now grip the key while gently pulling the cylinder straight out of the housing. If you encounter resistance, double-check that the set screw is adequately loosened.
Take your time during this process; each step is essential for ensuring a successful re-key. By removing the lock cylinder carefully, you're setting yourself up to serve others better, providing them with enhanced security and peace of mind.
Enjoy the satisfaction that comes from helping those around you!
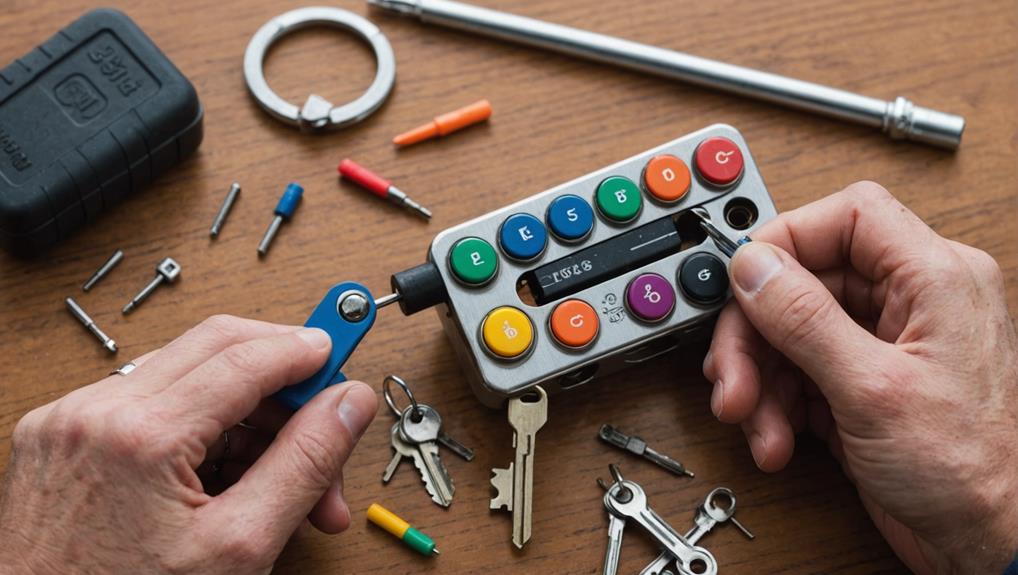
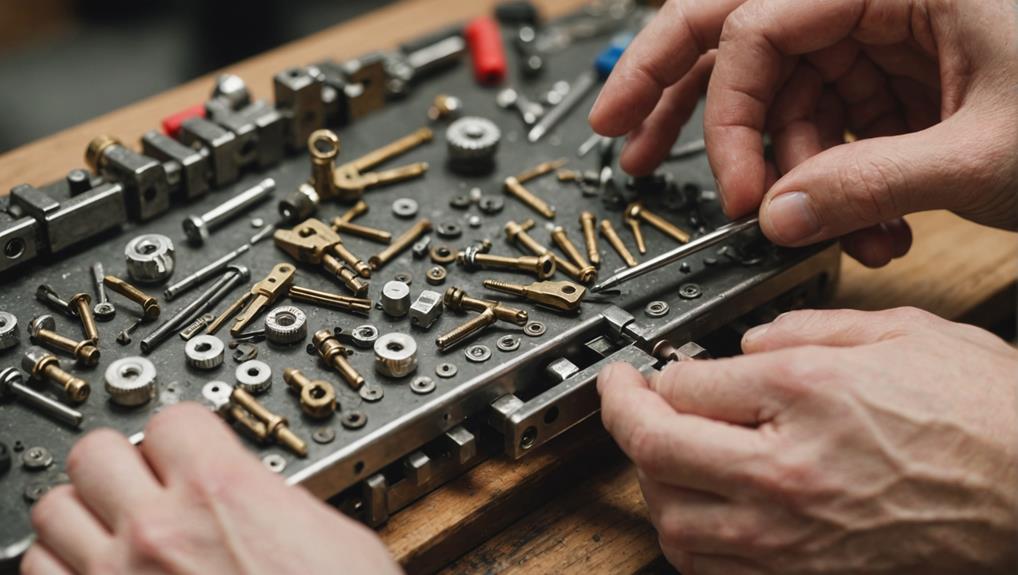
Inserting New Pins
Begin by carefully inserting the new pins into the lock cylinder. Make certain you've chosen the correct pins that correspond to your new key. The goal here is to guarantee the pins align perfectly with the cuts on the key, allowing it to turn smoothly.
Follow these steps to get it right:
- Identify pin sizes: Check the new pins against your key to determine the proper sizes.
- Use a pinning tool: Gently push each pin into its designated slot in the lock cylinder.
- Check alignment: After inserting, confirm all pins are seated evenly and not sticking out.
- Test the key: Before moving on, see how the new key fits in the cylinder. It should slide in and out easily.
- Adjust as necessary: If the key doesn't turn smoothly, remove the pins and reconsider their sizes or arrangement.
Reassembling the Lock
Now that you've inserted the new pins, it's important to make certain that the pins and tumblers are correctly aligned for peak functionality.
Proper alignment directly affects how smoothly the lock operates, making it essential to understand the re-keying process and its impact on the internal mechanics of the lock.
Start by aligning the cylinder pins correctly before inserting the lock cylinder back into the housing.
Align the Cylinder Pins
After you've replaced the pins, it's crucial to align them correctly to guarantee the lock functions smoothly. Misaligned pins can prevent the lock from engaging properly, causing frustration for you and those you serve.
Here's how to make sure everything lines up perfectly:
- Check the pin heights: Make sure all pins are at the same height as the cylinder's shear line.
- Use the right tension: Apply light pressure on the lock cylinder while aligning the pins to prevent any slipping.
- Tap gently: If needed, lightly tap the cylinder with a rubber mallet to settle the pins into place.
- Inspect alignment: Take a moment to visually inspect if all pins are aligned correctly before proceeding.
- Test the action: Before fully reassembling the lock, test the cylinder's movement to make sure it rotates freely.
Insert the Lock Cylinder
With the pins properly aligned, it's time to insert the lock cylinder back into its housing. This step is essential, as guaranteeing a smooth fit will enhance the lock's functionality and security. Gently slide the cylinder into the housing, making sure none of the pins displace. You'll feel it seat properly when aligned correctly.
To help visualize this process, here's a quick reference table:
| Step | Action | Tip |
|---|---|---|
| 1. Positioning | Hold the cylinder at an angle | Start with the tail of the cylinder facing down |
| 2. Insertion | Slide it in slowly | Keep pressure even to avoid pin displacement |
| 3. Check Alignment | Verify the cylinder is flush | Look for gaps between the cylinder and housing |
| 4. Secure | Replace the retaining clip | Make sure it's firmly in place |
Test the Reassembled Lock
Once you've reinserted the lock cylinder, it's important to test the reassembled lock to verify everything functions correctly. This step confirms that your hard work hasn't gone unnoticed, and your lock is ready to serve its purpose effectively.
Here's how to perform a thorough test:
- Check the key: Insert your new key and turn it. It should slide in smoothly and turn without resistance.
- Test locking and releasing: Lock and unlock the door several times to verify consistent performance.
- Listen for sounds: Pay attention to any unusual noises during operation, indicating potential issues.
- Inspect the mechanism: Look for misalignment or sticking parts that might hinder the lock's operation.
- Reconfirm security: After testing, verify the lock securely holds the door in place and isn't easily manipulated.
Testing the New Key
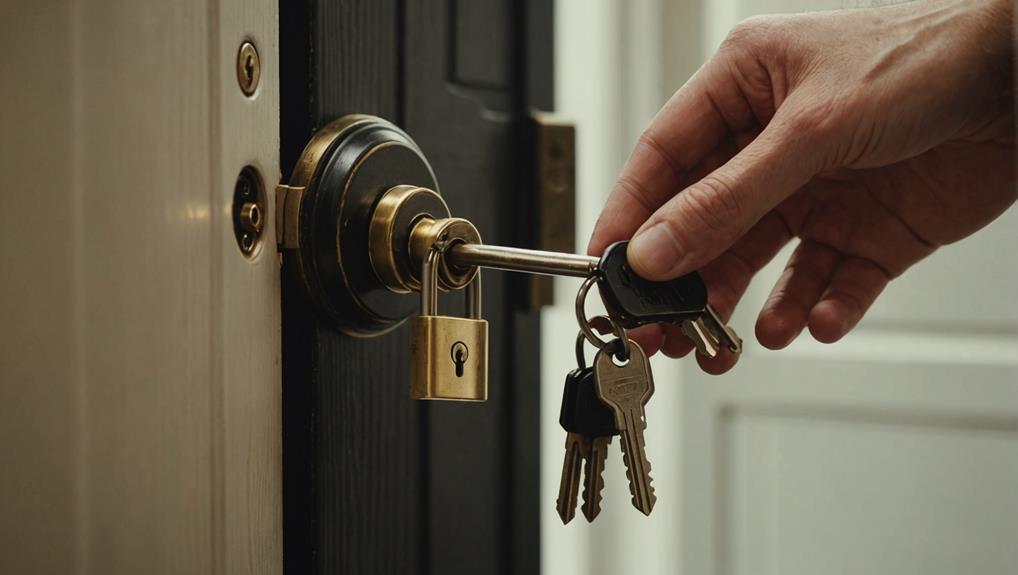
Testing your new key is an important step in the re-keying process, guaranteeing that the lock functions smoothly and securely. After reassembling the lock and inserting the new key, take a moment to evaluate its performance. It's vital to make certain everything operates as intended for your peace of mind and the safety of those you serve.
Here's a quick checklist to guide you through the testing process:
| Step | Action |
|---|---|
| 1. Insert Key | Gently insert the new key into the lock. |
| 2. Turn the Key | Rotate the key to the left and right. |
| 3. Check Lock | Verify the lock opens and closes smoothly. |
| 4. Remove Key | Pull the key out to check for resistance. |
| 5. Repeat | Test multiple times for consistency. |
If the key doesn't turn smoothly or gets stuck, double-check the pins and springs inside the lock. Adjust them if necessary, guaranteeing everything aligns properly. By thoroughly testing your new key, you're not only safeguarding your property but also assuring those who rely on your service that they're secure.
Tips for Successful Re-keying
Successful re-keying hinges on careful preparation and attention to detail. To guarantee your re-keying process goes smoothly and effectively, consider these helpful tips:
- Gather all necessary tools: Make sure you have your re-keying kit, a screwdriver, and any additional tools needed for your specific lock. Utilizing a professional-grade tool can enhance your experience and guarantee better results.
- Follow instructions carefully: Each lock may have unique steps, so read the manufacturer's instructions thoroughly before starting.
- Work in a well-lit area: Good lighting helps you see small parts clearly, minimizing mistakes and enhancing precision.
- Keep track of small components: Use a small container to hold pins and springs to avoid losing them during the process.
- Test the new key before reassembling: Once you've completed re-keying, check the new key in the lock to confirm it works smoothly before putting everything back together.
Frequently Asked Questions
Can I Re-Key Any Type of Lock?
You can't re-key every type of lock. Most standard pin tumbler locks can be re-keyed easily, but some locks, like lever or electronic locks, often require different methods or tools.
It's crucial to check the specific lock type before you start. If you're unsure, consider consulting a locksmith or researching your particular lock model.
This way, you'll guarantee you're providing the best service and security for those who rely on your expertise.
How Long Does the Re-Keying Process Take?
When you're looking to re-key a lock, you'll find it's not as time-consuming as one might think.
Typically, the entire process takes about 15 to 30 minutes per lock, depending on your experience level and the lock's complexity.
You'll want to gather your tools and follow the steps carefully.
Once you're done, you'll feel like a pro, ensuring your space remains secure while serving others with peace of mind.
Is Re-Keying Safe for Home Security?
Re-keying is a safe option for enhancing your home security.
It allows you to change the keys to your locks without replacing the entire lock, which can be more convenient and cost-effective.
By re-keying, you guarantee that old keys won't work anymore, keeping unwanted access at bay.
Just make certain to handle the process carefully and follow the kit instructions to maintain the integrity of your locks for peak security.
Can I Use a Re-Keying Kit on Multiple Locks?
They say, "A chain is only as strong as its weakest link."
Yes, you can use a re-keying kit on multiple locks, making it a practical choice for your home. Just confirm the locks are compatible with the kit you've got.
It's a great way to enhance security without replacing all your locks.
You'll streamline access for yourself and others, while keeping everyone safe and sound in your space.
What Should I Do if the New Key Doesn't Work?
If the new key doesn't work, first check that you've followed all steps correctly during the re-keying process.
Verify the pins are aligned properly in the lock. If it still doesn't work, try using the original key to see if it functions.
Sometimes, debris can clog the lock, so give it a clean.
If all else fails, you might need to consult a locksmith to resolve the issue effectively.
Conclusion
Re-keying your locks can be a rewarding DIY project that boosts your home's security. Did you know that around 30% of homeowners still use the original keys given at closing? By re-keying your locks, you can greatly reduce the risk of unauthorized access. With the right tools and a bit of patience, you'll not only feel accomplished but also safer in your home. So grab your kit and get started on enhancing your security today!