To replace your Chevrolet Corvette key fob battery, start by gathering a CR2032 battery, a small flathead screwdriver, and your emergency key. First, remove the emergency key. Hold the fob with buttons up, locate the seam, and gently insert the screwdriver into the indentation to pry the casing apart. Carefully remove the old battery and install the new CR2032 with the positive side facing up. Snap the casing back together, verifying alignment, and test all buttons. Proper setup and organization are essential for a smooth process. There's more to guarantee successful replacement and maintenance of your key fob.
Key Takeaways
- Gather a CR2032 battery, a small flathead screwdriver, and a clean workspace for the replacement process.
- Remove the emergency key and gently pry open the key fob using the screwdriver.
- Replace the old battery with a new CR2032, aligning the positive side up.
- Reassemble the key fob ensuring all components are correctly aligned and securely snapped together.
- Test all key fob functions from a short distance to confirm successful battery replacement.
Tools and Materials Needed
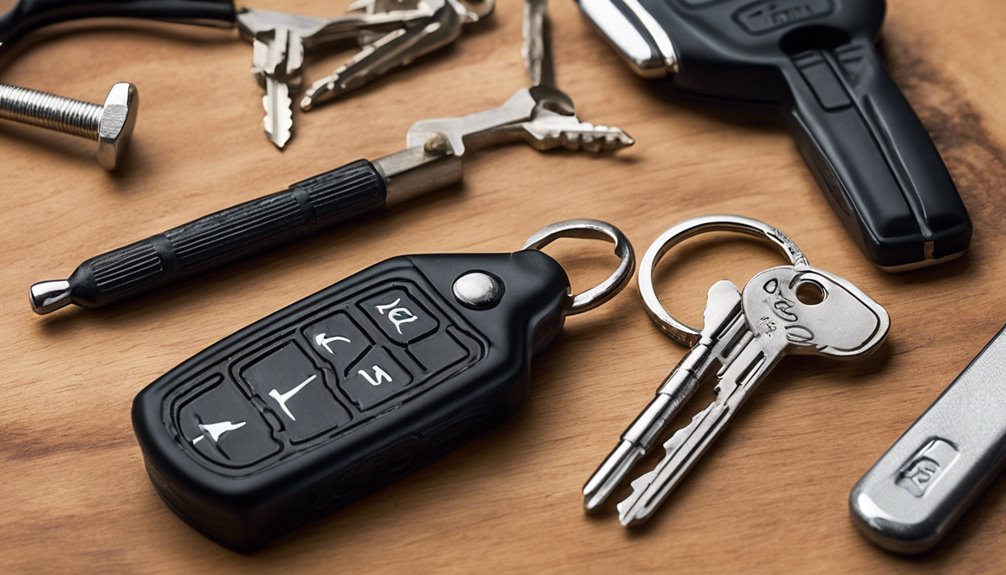
Gathering the right tools and materials is vital for replacing the battery in your Chevrolet Corvette key fob efficiently. You'll need to guarantee you have the correct items at hand before you begin to avoid any interruptions. Here's a precise breakdown of what you need:
- CR2032 Battery: This is the specific battery type your key fob requires. It can be found at local auto parts stores or online platforms like Amazon. Keep the GM part number 23465951 in mind for easy reference.
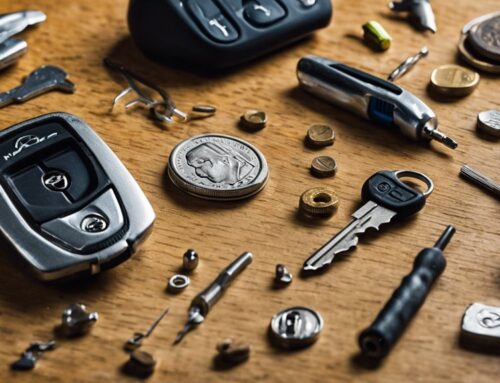
- Small Flathead Screwdriver or Alternative: To open the key fob case, a small flathead screwdriver is ideal, but a credit card or a quarter can also be effective. Apply even pressure to avoid damaging the water-tight seal.
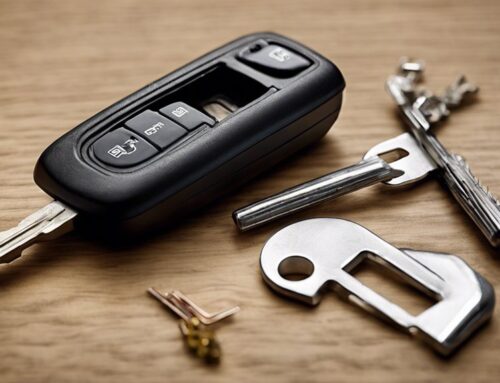
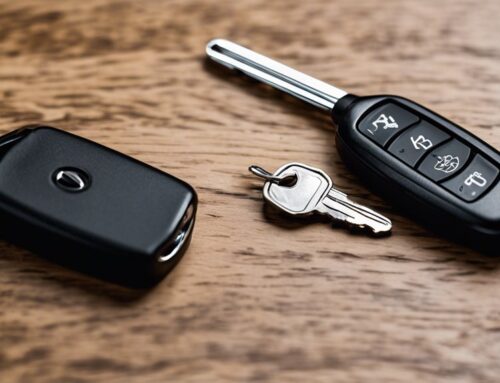
- Emergency Key: Remember to remove this part from the key fob before you start the opening process. It's essential for accessing the battery compartment without causing unnecessary harm.
Key fob battery replacement is considered a simple task but requires caution; incorrect handling can lead to damage or malfunction. Be mindful of the key ring and battery clips, which require delicate handling. Avoid using excessive force and consider a touch of Vaseline for smoother reassembly. With these tools and materials ready, you're well-prepared to proceed with confidence.
Step-by-Step DIY Guide
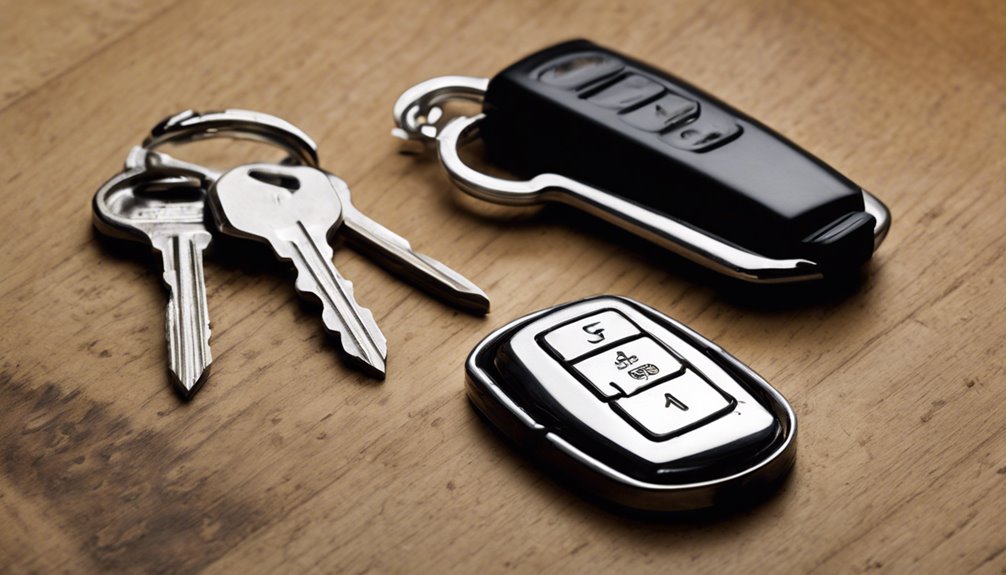
Begin by preparing your workspace to guarantee you have ample lighting and a clean surface to work on. Locate the key fob battery compartment by removing the emergency key and identifying the notch or slot near it. Use a flathead screwdriver or the mechanical key to open the key fob, remove the old battery, and insert the new one, guaranteeing correct orientation based on your model.
Prepare Your Workspace
To efficiently replace your Chevrolet Corvette key fob battery, confirm you have a clean and organized workspace. Clear your table or desk of any unnecessary items to avoid misplacing small components. A tidy environment guarantees focus and reduces the risk of losing vital parts during the process.
Start by gathering the necessary tools. You'll need a small flathead screwdriver or a plastic pry tool to open the key fob casing without causing damage. Have a soft cloth or microfiber towel ready to protect surfaces and the key fob from scratches. If possible, choose a well-lit area to enhance visibility, making it easier to see small details and components.
Next, prepare a small container or tray to hold the screws and other tiny parts securely. This prevents them from rolling away and getting lost. Arrange all tools and materials within arm's reach for easy access during the battery replacement.
Locate the Key Fob Battery Compartment
Finding the battery compartment in your Chevrolet Corvette key fob is straightforward when you know where to look. First, hold the key fob in your hand with the buttons facing upward. This orientation will give you a clear view of the structure. Notice the small seam along the edge of the fob, which indicates where the two halves of the casing meet. This seam is your access point to the internal battery compartment.
Next, locate the release latch or button, often found on the back or side of the key fob. This latch allows you to detach the emergency key, which you'll need to do before proceeding further. Gently slide or press the latch as necessary, and pull the emergency key out. Set it aside for now, as we'll return to it later in the process.
With the emergency key removed, focus on the area revealed by its absence. You'll typically see a small indentation or slot. This is an essential part of accessing the battery compartment, as it provides leverage when opening the fob. Remember this spot, as it will guide you in the subsequent steps.
Open the Key Fob
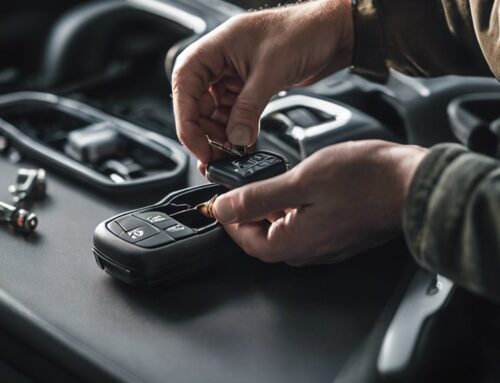
Accessing the battery compartment of your Chevrolet Corvette key fob involves a few precise steps. Begin by confirming you have a clean, flat workspace. Hold the key fob firmly in your hand, identifying the seam where the two halves meet. You'll notice a small indentation or notch along this seam—this is your entry point.
Using a small flathead screwdriver or a similar tool, gently insert it into the notch. Be careful not to apply too much pressure to avoid damaging the casing. Once inserted, twist the screwdriver slightly to create a gap between the two halves. You should hear a soft click as the fob begins to open.
Next, carefully work your way around the perimeter, gently prying the casing apart. Maintain a steady hand to avoid any abrupt movements. Once the halves are sufficiently separated, use your fingers to pull them apart completely. The inner components, including the battery compartment, should now be visible.
Take a moment to note the orientation of the fob's components. This will guarantee seamless reassembly later. With the fob open, you're now ready to proceed to the next step of replacing the battery.
Remove the Old Battery
Now that you have the key fob open, clarity is essential as you proceed to remove the old battery. Start by identifying the battery compartment within the open key fob. You should see the battery housed snugly in its slot, typically a small, round disc. Gently grasp the edge of the battery using your fingers or a small, non-metallic tool like a plastic spudger to avoid any unnecessary scratching or damage.
Carefully pry the battery upwards; it should pop out with minimal resistance. Be mindful not to apply excessive force, as this could damage the battery contacts or the key fob casing. If the battery feels stuck, gently wiggle it back and forth until it loosens.
Once the battery is free, take a moment to inspect the compartment for any dust or debris. A quick wipe with a soft, dry cloth can guarantee a clean environment for the new battery. Remember, maintaining a clean contact surface is vital for peak performance of your new battery. Now that the old battery is removed, you're one step closer to restoring full functionality to your key fob.
Insert the New Battery
With the old battery successfully removed, focus shifts to inserting the new one. Begin by confirming you've acquired the correct replacement battery, typically a CR2032. Hold the new battery, noting the positive side marked with a '+' symbol. This side should face upwards when inserted into the key fob.
Gently place the battery into its designated compartment, aligning it precisely with the contacts. Avoid touching the surfaces of the battery excessively, as oils from your fingers can reduce battery life. Use a clean, lint-free cloth if necessary to handle it.
Once positioned, press the battery firmly yet cautiously into place. Listen for a subtle click or feel a slight resistance, indicating the battery is securely seated. This guarantees proper contact with the terminals, which is essential for functionality.
Before moving forward, double-check that the battery sits flat and isn't at an angle. A misaligned battery can lead to connection issues, rendering the key fob ineffective. If everything looks aligned, take a moment to appreciate your handiwork. You've just completed a significant step in restoring your Corvette's key fob to its best performance.
Reassemble the Key Fob
Reassembling your key fob is a straightforward process that requires attention to detail. Begin by aligning the two halves of the key fob casing. Confirm that the circuit board and new battery are securely positioned within the bottom half. Look for any grooves or tabs that guide the proper alignment of the casing. These guides are essential for a snug fit, preventing any loose connections that could disrupt functionality.
Gently press the two halves together, applying even pressure around the edges. You should hear a satisfying click when the casing snaps back into place. If the halves don't align correctly, avoid forcing them together; instead, readjust and try again. For key fobs with screws, insert and tighten them using a small Phillips screwdriver. Be careful not to overtighten, as this could damage the casing.
Test the Key Fob
After reassembling your key fob, it's crucial to test its functionality to verify everything is working correctly. First, stand within a close range of your Chevrolet Corvette, ideally about 5 to 10 feet away, to confirm signal reception. Press the "Lock" button firmly and listen for the distinct sound of the vehicle locking. If you hear it, the lock function is operational.
Next, press the "Open" button. The car should respond by unlocking, confirmed by a visual cue such as flashing lights. If your Corvette has a trunk release button, press it to check if the trunk opens without hesitation.
Don't forget to test the panic button. Press and hold it for a few seconds, then release it once the alarm sounds. This verifies that the panic function is intact.
Finally, if your key fob has a remote start feature, engage it by pressing the appropriate button sequence as per your vehicle's manual. Confirm the engine starts, indicating that the remote start functionality is active.
If any function fails, recheck the battery's placement and the fob's internal connections. Testing confirms reliability, enhancing your driving experience.
Signs Your Chevrolet Trax Key Fob Battery Needs Replacement
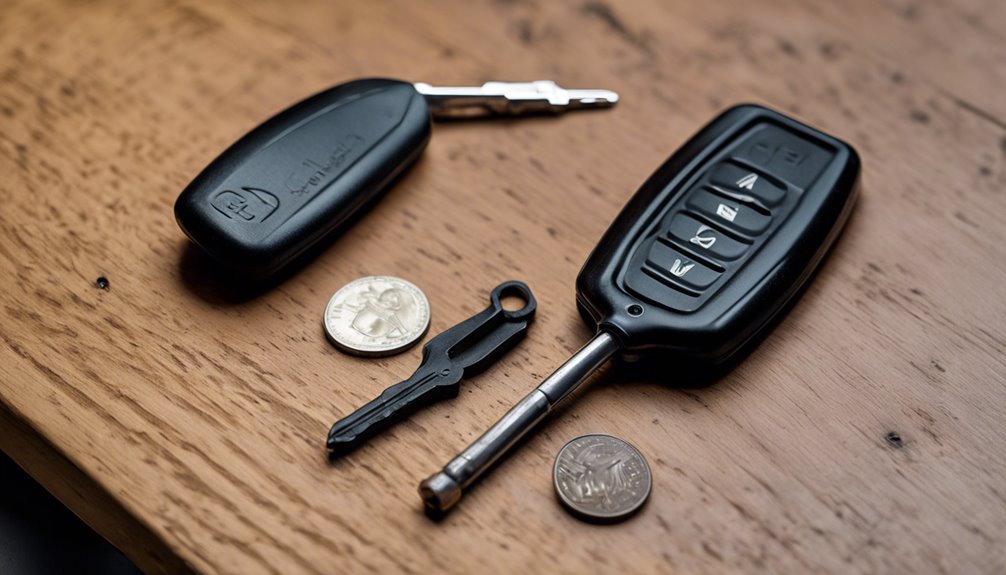
A malfunctioning key fob can disrupt your day, and understanding the signs that your Chevrolet Trax key fob battery needs replacement is crucial for seamless operation. You rely on your key fob for quick access and starting your vehicle, so let's identify when it's time to replace that battery.
- Decreased Range: If you notice you must stand closer to your Trax for the key fob to function, it's a clear indication the battery is losing power.
- Intermittent Functionality: When the key fob works inconsistently, opening your doors or starting the engine only sometimes, it's a sign the battery is nearing the end of its life.
- Unresponsive Buttons: If pressing the buttons yields no response, even after several attempts, it's likely the battery's depleted.
Each of these symptoms suggests it's time to replace the battery before the key fob stops working entirely, leaving you in a bind. Addressing these signs promptly will guarantee your Chevrolet Trax remains accessible and ready to go. Don't let a simple battery drain complicate your day—stay proactive with these key indicators.
Troubleshooting Tips
Troubleshooting your Chevrolet Trax key fob when it's not working properly involves a systematic approach to identify and resolve the issue efficiently. Start by considering these potential problems and solutions:
- Battery Check: Verify that the battery is installed correctly. Open the key fob using a small screwdriver, ensuring the positive and negative ends of the battery align with the markings inside. If the battery's dead, replace it with a new CR2032 battery.
- Signal Interference: External factors can interfere with your key fob's signal. Check for any large metal objects, electronic devices, or structures that may block the signal. Move closer to your vehicle and try again, eliminating potential sources of interference.
- Reprogramming: Sometimes, your key fob might need reprogramming. Refer to your owner's manual for specific instructions on resetting the key fob. Typically, this involves holding down a combination of buttons or using the vehicle's onboard diagnostics port.
Tips for Prolonging Key Fob Battery Life

Preserving the battery life of your Chevrolet Corvette key fob involves a few simple yet effective strategies. By paying attention to these details, you can guarantee your key fob remains reliable and efficient.
- Limit Button Presses: Avoid pressing the buttons unnecessarily. Each press draws power from the battery, so only use the key fob when required. If you're within the range of the car, use the physical key when feasible.
- Store Properly: Keep your key fob in a cool, dry place away from extreme temperatures and humidity. These conditions can quickly degrade the battery. Consider storing the key fob in a protective case to shield it from environmental factors.
- Disable Passive Entry: If your Corvette has a passive entry system, it constantly communicates with your key fob, draining the battery over time. Disabling this feature when it's not needed can notably enhance battery longevity. Refer to your owner's manual for specific instructions on how to toggle this setting.
When to Seek Professional Help
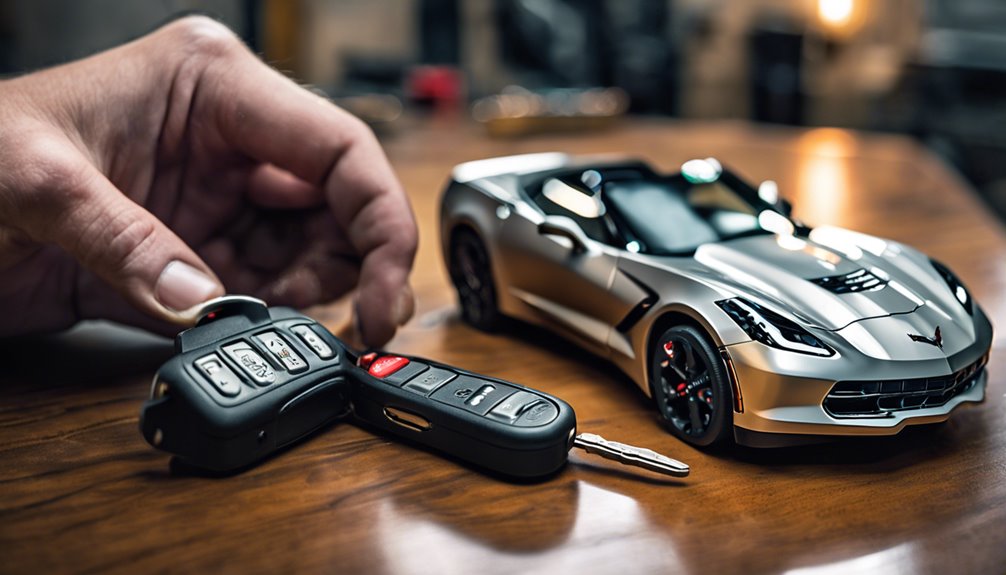
If your Corvette key fob starts to show signs of malfunction, like inconsistent signal range or unresponsive buttons, it's time to contemplate seeking professional help. While DIY solutions are tempting, some situations require professional intervention to guarantee your vehicle's security and functionality. Here's when you should consider reaching out:
- Persistent Malfunction: If you've replaced the battery and the key fob still doesn't work correctly, there might be an issue with the internal circuitry. A professional can diagnose and resolve these complex problems.
- Reprogramming Needs: After battery replacement, if your fob doesn't sync with your Corvette, it may need reprogramming. This process often requires specialized equipment only available at a dealership or locksmith.
- Physical Damage: If your key fob has suffered physical damage—cracked casing, water exposure—it's best to have an expert assess the extent of the damage and recommend a solution, which might include repair or replacement.
For your peace of mind, entrusting your Corvette key fob to a professional guarantees that your vehicle remains secure and functional. Remember, sometimes a skilled technician can save you time and frustration, restoring confidence in every press of a button.
Frequently Asked Questions
What Type of Battery Does the Chevrolet Corvette Key Fob Use?
You're looking to replace the battery in your Chevrolet Corvette key fob, and you need a CR2032 battery. First, press the release button to remove the metal key. Insert the key into the slot to open the fob gently. Once opened, locate the circular CR2032 battery. Carefully remove it and insert the new one, ensuring the positive side faces up. Reassemble the fob, and you're ready to go.
Can a Low Battery Affect the Key Fob's Range?
Yes, a low battery can definitely affect your key fob's range. When the battery weakens, the signal it sends becomes less powerful, reducing the distance over which it can lock or open your car. To fix this, replace the battery by carefully opening the fob's case using a small screwdriver. Remove the old battery, insert a new one, ensuring correct orientation, and snap the case shut. Your fob's range should improve immediately.
How Often Should I Replace My Key Fob Battery?
You're wondering how often to replace your key fob battery, aren't you? Typically, you should swap it out every one to two years. Start by checking your vehicle manual for specific guidance. When performance decreases, when response times slow, or when range shortens, it's time. Gather a small screwdriver, replace the CR2032 battery, verify contact points are clean, and reassemble carefully. You'll keep everything running smoothly.
Where Can I Purchase a Replacement Battery for My Key Fob?
You can purchase a replacement battery for your key fob at most electronics stores or online retailers. Look for a CR2032 lithium coin battery, which is commonly used. First, check your key fob's manual for specific battery type details. Once you've got the battery, open the fob using a small screwdriver or coin edge. Replace the old battery, ensuring the positive side faces up, and snap the fob back together securely.
Is It Safe to Replace the Battery Myself Without Voiding the Warranty?
Yes, you can replace the key fob battery yourself without voiding the warranty. First, gather a small flathead screwdriver and a new battery. Gently pry open the fob casing with the screwdriver, being careful not to damage the components. Remove the old battery, noting its orientation. Insert the new battery in the same position. Close the casing tightly, ensuring the halves click together. Test the fob to confirm it's working correctly.
Conclusion
You've now got the tools and know-how to replace your Chevrolet Corvette key fob battery with ease. Did you know that a staggering 90% of key fob issues stem from a depleted battery? By following these steps, you can tackle this common problem yourself, saving time and money. Remember, maintaining your key fob's battery life can prevent inconvenient lockouts. If you encounter persistent issues, don't hesitate to seek professional help for peace of mind.


