Replacing a broken lock cylinder is simple if you have the right tools. First, gather a screwdriver, pliers, and your new cylinder. Carefully disassemble the lock by removing screws and slide out the broken cylinder. Measure the new cylinder to guarantee it fits snugly. Insert it into the lock housing, align it correctly, and secure it with screws. Reattach the faceplate and test the lock with your key. Verify it turns smoothly. If you encounter any issues, like misalignment or stiffness, there are ways to troubleshoot those problems effectively. There's more to explore on this process for a successful installation.
Key Takeaways
- Identify the type and size of your existing lock cylinder for a compatible replacement.
- Gather essential tools like screwdrivers, pliers, and lubricant before starting the replacement process.
- Carefully disassemble the lock mechanism to access and remove the broken cylinder.
- Install the new cylinder by aligning it correctly and securely fastening with screws.
- Test the new cylinder for smooth operation and address any issues like misalignment or debris.
Understanding Lock Cylinders
Lock cylinders are the heart of your door's locking mechanism, playing an essential role in your home's security. When you encounter a broken lock cylinder, it can feel intimidating, but understanding its function is the first step towards restoring safety. The lock cylinder allows you to control access to your home, ensuring that only those with the right key can enter.
It's significant to mention that mastering deadbolt replacement can provide valuable insights into similar components and their replacements.
In your lock cylinder guide, you'll learn that these components come in various designs and sizes, suitable for different types of doors. When replacing the lock cylinder, it's vital to choose one that matches your existing hardware to maintain security and functionality.
You might notice signs of a broken lock cylinder, such as difficulty turning the key, a key that won't fully insert, or a cylinder that feels loose. Addressing these issues promptly can prevent further complications.
Identifying the Right Replacement

When it comes to replacing a broken lock cylinder, identifying the right replacement is key to guaranteeing your door remains secure. You'll want to evaluate several factors to make an informed choice. Start by examining the type of lock you currently have, as this will guide your selection.
| Feature | Description | Importance |
|---|---|---|
| Lock Type | Pin tumbler, wafer, or mortise | Affects compatibility |
| Cylinder Length | Measure the existing cylinder | Guarantees proper fit |
| Security Rating | Look for ANSI/BHMA ratings | Guarantees safety and durability |
While choosing a lock cylinder, remember that the right fit can enhance your home's security. For DIY lock cylinder replacement, always double-check measurements and specifications to avoid any mishaps. If you're unsure about the specifics, don't hesitate to consult with a locksmith or a knowledgeable friend. It's all about providing a safe environment for those you care about, so take your time and get the right replacement. Your diligence will pay off in the long run, guaranteeing that your loved ones feel secure in their home.
Tools Needed for Replacement
To successfully replace a broken lock cylinder, you'll need a few essential tools at your disposal. First, gather a screwdriver set, as you'll need both flathead and Phillips screwdrivers for lock cylinder removal. A pair of pliers will also come in handy, especially if you encounter any stubborn screws.
Additionally, understanding the nuances of your specific lock type can aid in a smoother replacement process, especially if you're dealing with mechanical and electronic models.
Next, consider having a utility knife on hand to help with any necessary adjustments or to trim away any debris around the lock. A flashlight is useful for illuminating hard-to-see areas during the cylinder lock repair, ensuring you don't miss anything vital.
You'll also want a replacement lock cylinder that matches your existing one. If you're unsure, consult the packaging or the manufacturer's specifications.
Lastly, having a set of gloves will protect your hands from sharp edges and provide a better grip on tools. With these tools ready, you'll be well-prepared for the upcoming steps in the cylinder lock repair process.
Removing the Broken Cylinder
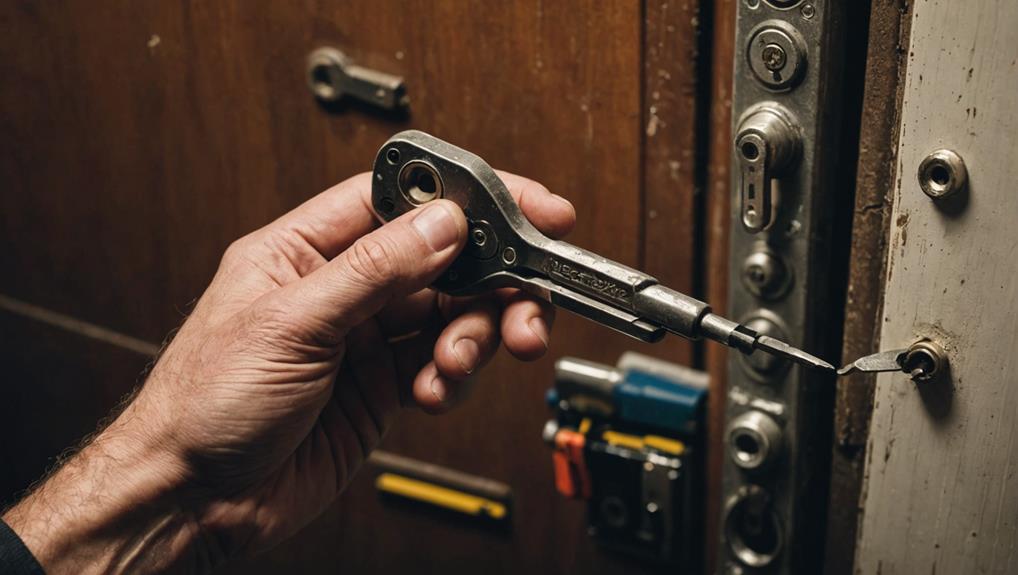
To remove the broken cylinder, you'll first need to gather the necessary tools.
Using the correct tools is essential to guarantee safety and prevent damage to the lock or door frame, as choosing the right tools greatly reduces the risk of complications during the process.
Once you have everything ready, disassemble the lock mechanism carefully.
This will allow you to extract the broken cylinder with ease.
Gather Necessary Tools
Before diving into the task of removing a broken lock cylinder, you'll need to gather a few essential tools to make the process smoother.
Start with a screwdriver, preferably a flathead and a Phillips, as they'll help you access the screws that hold the lock in place. You'll also need a pair of needle-nose pliers, which can assist in gripping small parts.
Next, grab a drill with a set of drill bits. If the cylinder is particularly stubborn, drilling may be necessary to break it free.
Don't forget a small hammer, which you can use gently to tap parts that might be stuck. A flashlight can also be invaluable for inspecting the lock and confirming you're working in the right area.
Lastly, keep a cloth handy to wipe away any debris and maintain a clean workspace.
Having these tools at your side not only streamlines the process but also guarantees you're prepared to serve others by efficiently resolving their lock issues.
Gather these items, and you'll be ready to tackle the challenge ahead with confidence!
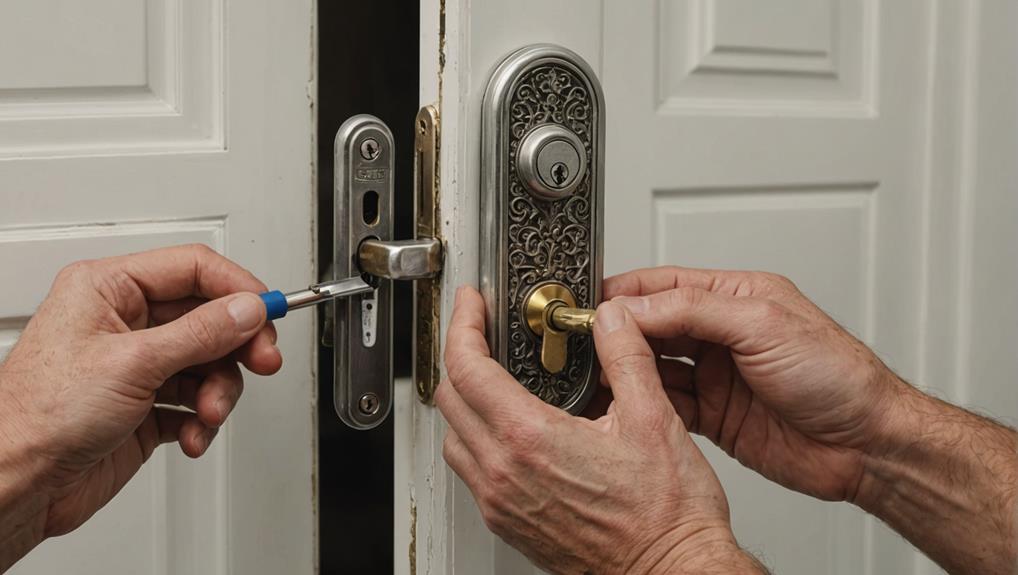
Disassemble Lock Mechanism
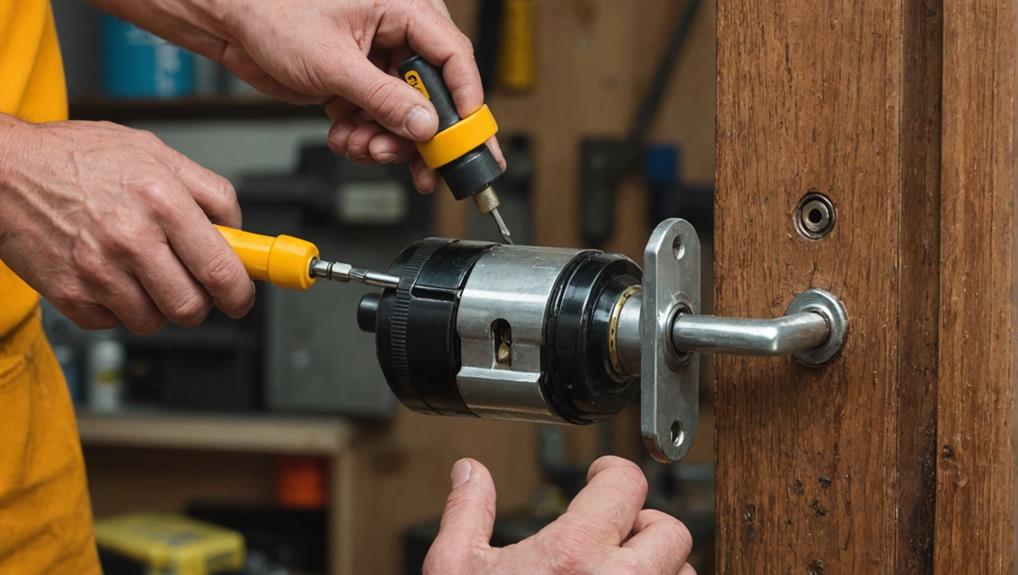
Now that you've gathered the necessary tools, it's time to disassemble the lock mechanism and remove the broken cylinder. Start by placing the lock in a secure position, ensuring it won't shift as you work. Use your screwdriver to remove the screws holding the lock faceplate in place. Once you've removed the screws, gently pull off the faceplate to expose the inner workings of the lock.
Next, identify the mounting screws securing the cylinder. Remove these screws carefully, as they can be small and easy to misplace. Once the screws are out, you can slide the broken cylinder out of the lock housing.
Here's a quick reference table to help you with the disassembly process:
| Step | Action |
|---|---|
| 1 | Secure the lock in a stable position |
| 2 | Remove screws from the faceplate |
| 3 | Pull off the faceplate |
| 4 | Unscrew and remove the broken cylinder |
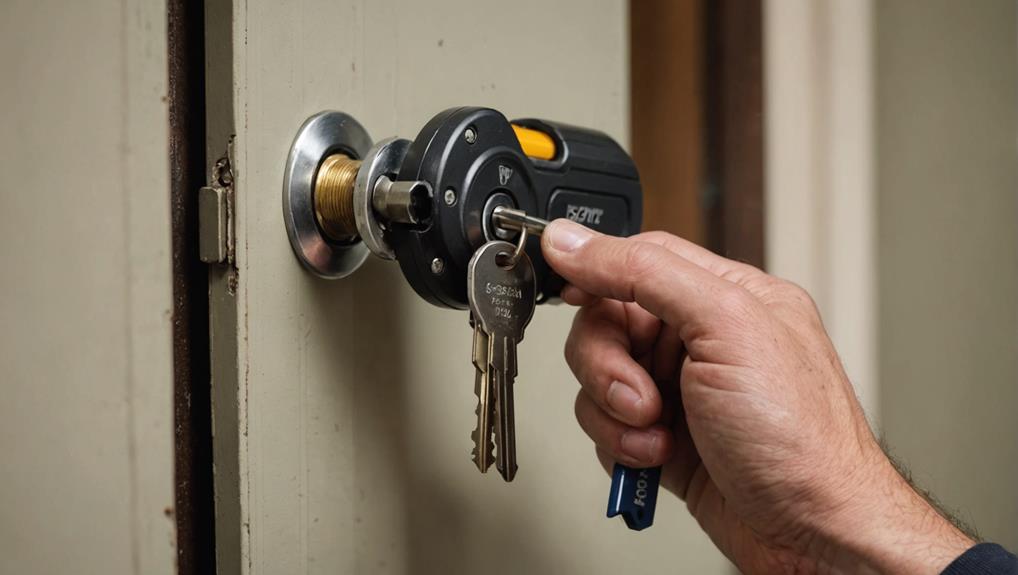
Extract Broken Cylinder
With the faceplate removed, you can focus on extracting the broken cylinder from the lock housing.
Start by inspecting the cylinder for any screws or retaining clips that may hold it in place. If you find any, use a screwdriver or pliers to carefully remove them.
Next, you'll want to grab a pair of pliers, preferably needle-nose, to get a good grip on the remaining portion of the broken cylinder. Gently pull outward, applying steady pressure.
If it doesn't budge, you may need to use a penetrating oil to loosen any rust or debris stuck inside. Just a few drops should do the trick, allowing the oil to seep in for a few minutes before you try again.
If the cylinder is still stuck, consider using a cylinder extraction tool. Insert the tool into the lock housing and twist it to grip the broken cylinder securely.
Pull it out slowly, ensuring not to damage the surrounding components.
Once you've successfully extracted the broken cylinder, you're one step closer to installing the new one.
Installing the New Cylinder
Now that you've removed the broken cylinder, it's time to install the new one.
Before you begin, make certain you have the necessary tools ready, such as a screwdriver and the new lock cylinder.
Following the steps outlined in a DIY guide to replacing a door knob, you'll be well-prepared for the installation.
After installation, don't forget to test the new cylinder to confirm it works smoothly.
Tools Needed for Installation
To successfully install a new lock cylinder, you'll need a few essential tools. Gathering these tools beforehand guarantees a smooth installation process, allowing you to focus on providing a secure environment for those you serve.
Here's what you'll need:
- Screwdriver Set: A good set of screwdrivers, both flathead and Phillips, is critical for removing the old cylinder and securing the new one in place.
- Pliers: A pair of pliers can help you grip and manipulate small parts, making the installation easier and more precise.
- Measuring Tape: Accurate measurements are essential to make sure the new cylinder fits perfectly in the existing lock.
Having these tools at your disposal not only prepares you for the task but also demonstrates your commitment to safety and quality service.
Each tool plays an important role in guaranteeing the lock operates smoothly, providing peace of mind for you and those who rely on your expertise.
Take a moment to gather everything before you begin, and you'll be equipped to handle the installation efficiently and effectively.
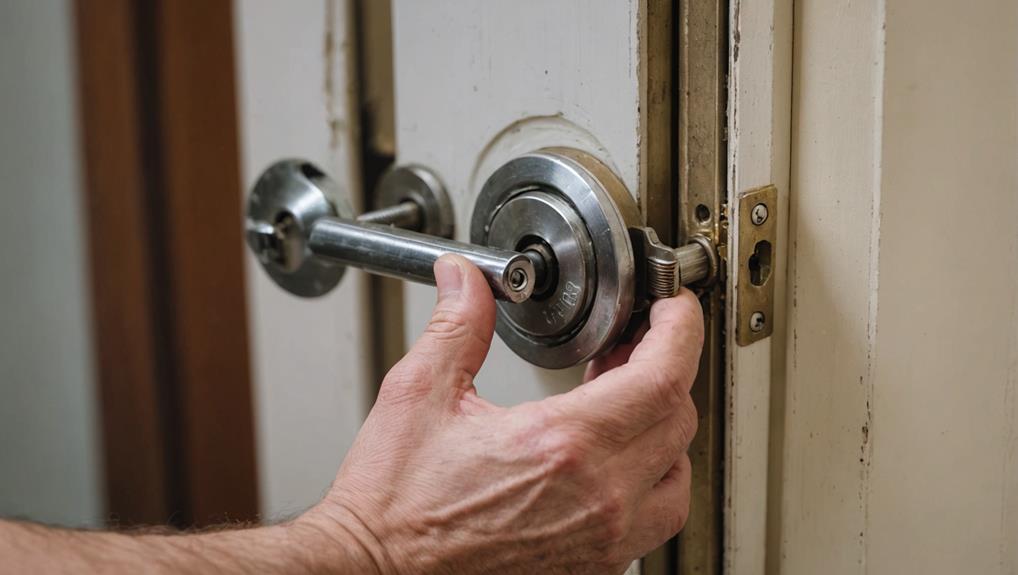
Step-by-Step Installation Process
After gathering the necessary tools, you're ready to install the new lock cylinder. Start by positioning the cylinder into the lock housing. Verify the cylinder aligns with the mounting holes, making it easy for you to insert screws later. Gently push the cylinder in until it's flush with the door surface.
Next, take the screws you removed earlier and insert them into the designated holes. Tighten them securely, but be careful not to over-tighten, as this can damage the cylinder.
Once the screws are in place, check to make sure the cylinder turns smoothly.
If you're replacing a key cylinder, insert the key to confirm it fits properly. This is essential for guaranteeing the lock operates smoothly for whoever will use it.
Testing the New Cylinder
Once you've secured the new lock cylinder, it's important to test its functionality. This step guarantees that everything is working smoothly and that you can provide safety and security for those you care about.
Here's how to conduct a thorough test:
- Insert the Key: Start by inserting the key into the new cylinder. It should slide in easily without any resistance.
- Turn the Key: Rotate the key gently to verify it turns smoothly. If it feels stiff or gets stuck, there might be an issue with alignment or installation.
- Check the Lock Mechanism: With the door slightly ajar, lock and open the cylinder several times. Listen for any unusual sounds and confirm the latch engages properly.
If you encounter any problems during this process, don't hesitate to revisit your installation steps. A properly functioning lock is vital for peace of mind, not just for you, but for everyone who relies on your care.
Once you're satisfied with the cylinder's performance, you can confidently assure those you serve that their safety is in good hands. Testing now means fewer worries later!
Testing the New Lock
When you've installed a new lock cylinder, it's essential to test it to verify everything works smoothly. First, insert the key and turn it. You should feel a smooth action without any resistance. If it feels stiff or gets stuck, it might indicate a misalignment or improper installation.
Next, lock and open your door several times. Pay attention to any odd sounds or difficulty in turning the key. This guarantees the lock is functioning correctly and provides peace of mind for you and those you serve.
Here's a quick checklist to guide you:
| Action | What to Look For | Notes |
|---|---|---|
| Insert Key | Smooth turning | No resistance |
| Lock Door | Easy engagement | Listen for odd sounds |
| Unlock Door | Consistent action | Check for any sticking |
| Repeat Steps | Reliability | Confirm no surprises later |
Testing your new lock isn't just about the mechanics; it's about assuring safety and security for everyone who relies on you. By taking these extra moments to confirm its functionality, you're serving your community with diligence and care.
Common Installation Issues
Encountering common installation issues can be frustrating, but recognizing them early can save you time and effort.
When you're replacing a broken lock cylinder, you might face a few typical problems that can hinder your progress. Before starting, consider consulting a professional for guidance on the mastering lock replacement process.
Here are some issues to watch out for:
- Misalignment: If the lock cylinder doesn't align properly with the door, it can cause operational difficulties. Make sure everything lines up before securing the cylinder in place.
- Incorrect Sizing: Sometimes, the new cylinder mightn't fit the existing hole in your door. Double-check measurements to verify compatibility before purchasing a replacement.
- Loose Screws: After installation, if the screws aren't tightened securely, the lock can wobble or become loose over time. Always double-check that all screws are tight to maintain security.
Maintaining Your Lock Cylinder
After successfully installing your new lock cylinder, it's important to focus on maintenance to guarantee its longevity and functionality. Regular upkeep not only enhances the lock's performance but also guarantees the safety of those you serve.
Additionally, consider the benefits of lock re-keying, which can provide added security and convenience without the need to replace the entire lock.
Start by lubricating the lock cylinder at least twice a year. Use a graphite lubricant or a silicone spray, avoiding oil-based products that can attract dirt and grime. Simply insert the nozzle into the keyhole and apply a small amount, then insert and turn the key to distribute the lubricant evenly.
Next, check for debris or blockages in the keyhole. Keep the area around the lock clean and free from dust and dirt. If you notice any resistance when inserting your key, it might be time to clean out the cylinder.
Frequently Asked Questions
Can I Replace a Lock Cylinder Without Professional Help?
Yes, you can replace a lock cylinder without professional help, but it requires some basic tools and knowledge.
First, gather your tools, like a screwdriver and a new cylinder. You'll need to remove the existing lock carefully, taking note of how it's assembled.
Follow the instructions that come with your new cylinder, ensuring everything fits snugly.
With patience and attention to detail, you can successfully complete the task and enhance your security.
How Much Does a Lock Cylinder Replacement Typically Cost?
When it comes to cost, you might find yourself in a bit of a pickle.
Typically, a lock cylinder replacement can range from $50 to $200, depending on the type of lock and labor fees.
If you're handy, you can save some cash by doing it yourself.
Just remember, investing in a quality lock can pay off in the long run, keeping your loved ones safe and secure.
Is It Possible to Rekey a Broken Lock Cylinder?
Yes, you can rekey a broken lock cylinder, but it mightn't be the best option.
If the damage is extensive, rekeying could compromise security. You'll need to assess the lock's condition first.
If it's just a minor issue, rekeying can save you time and money.
However, if the cylinder's severely broken, replacing it would likely be more effective in ensuring your safety and peace of mind.
Always prioritize security!
What if the New Lock Cylinder Doesn't Fit Properly?
If the new lock cylinder doesn't fit properly, it's like trying to fit a square peg in a round hole.
You'll want to double-check the specifications and make certain you've got the right size. Sometimes, minor adjustments or shimming can help it fit snugly.
If it still doesn't work, consider consulting a professional. They can guarantee everything aligns correctly, making your space secure and ready to serve those who enter.
Will Replacing the Lock Cylinder Affect My Home Insurance?
Replacing your lock cylinder can potentially affect your home insurance, but it often depends on your policy.
Insurers usually appreciate improved security measures, which might even lower your premium. However, it's always best to check with your insurance provider first. They can clarify if the change impacts your coverage.
Keeping your home secure not only protects your belongings but also shows you're proactive in maintaining your property's safety.
Conclusion
In summary, replacing a broken lock cylinder isn't as intimidating as it seems. With the right tools and a bit of patience, you can secure your home in no time. Remember, "A stitch in time saves nine"—addressing lock issues promptly can save you from bigger headaches later. Now that you've got your new cylinder in place, keep it maintained to guarantee it lasts. Stay safe, and trust your instincts; you've got this!