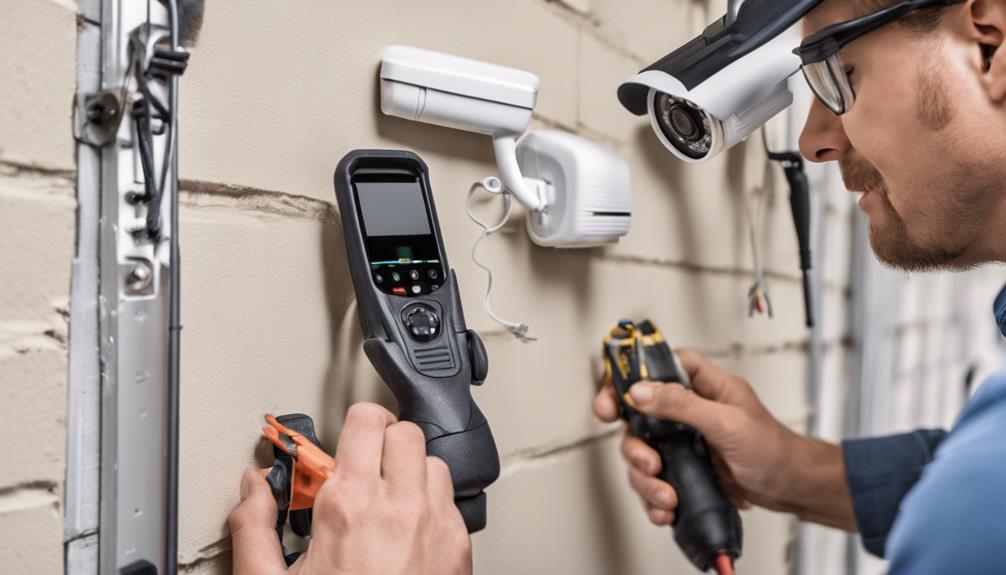
To successfully install a security system on your own, first assess your security needs by identifying vulnerable points and evaluating high-traffic areas. Choose a system that's easy to install, with essential features like motion detectors and cameras. Gather necessary tools such as a drill, level, and screwdriver. Plan strategic locations for sensors and cameras, focusing on entry points and valuables. Install the control panel near a main entrance and power source. After setting up cameras and sensors, test the signal strength and adjust camera angles for best coverage. Fine-tune motion detection settings to avoid false alarms. For a detailed walkthrough, continue exploring.
Key Takeaways
- Assess and identify vulnerable points and high-traffic areas in your home for targeted security coverage.
- Choose a security system that is user-friendly, scalable, and highly rated for DIY installation.
- Gather necessary tools, including a drill, screwdrivers, ladder, and a smartphone for installation guidance.
- Install and configure the control panel near a main entry door and power outlet following manufacturer instructions.
- Position and test cameras and sensors to ensure they cover critical areas without blind spots, adjusting angles for optimal visibility.
Assess Your Security Needs
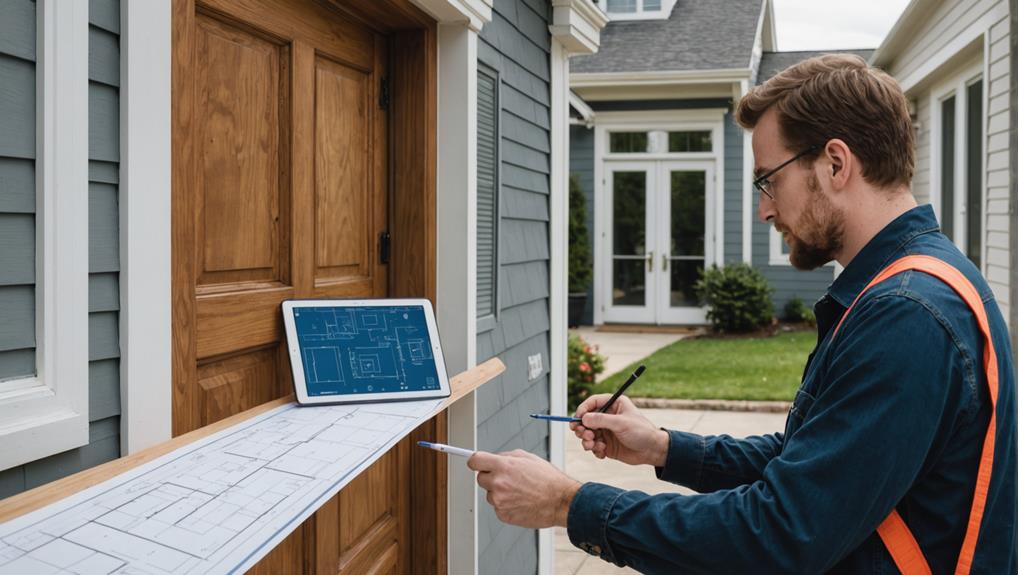
Before diving into the installation process, it's important to assess your security needs. Understanding what you need to protect will help you tailor your DIY security system installation to your specific situation.
Start by walking through your home and noting vulnerable points like doors, windows, and dark areas. Think about whether you need indoor, outdoor, or both types of surveillance. Evaluate the layout and identify high-traffic areas that might benefit from extra monitoring.
Consider reading more about the different types of residential security systems to understand which options might best suit your home.
Consider who you're protecting and their daily routines. Are there children, elderly family members, or pets that require special attention? Factor in their needs to make sure your home security setup covers all bases.
Additionally, think about potential threats in your neighborhood, such as break-ins or vandalism, and how they might impact your security strategy.
Next, decide on the level of monitoring you need. Do you want real-time alerts, remote access via smartphone, or integration with other smart home devices?
These decisions will shape your overall approach to installation. By taking the time to thoroughly assess your security needs, you'll set a solid foundation for a successful, all-encompassing DIY security system installation that truly serves and protects your loved ones.
Choose the Right System
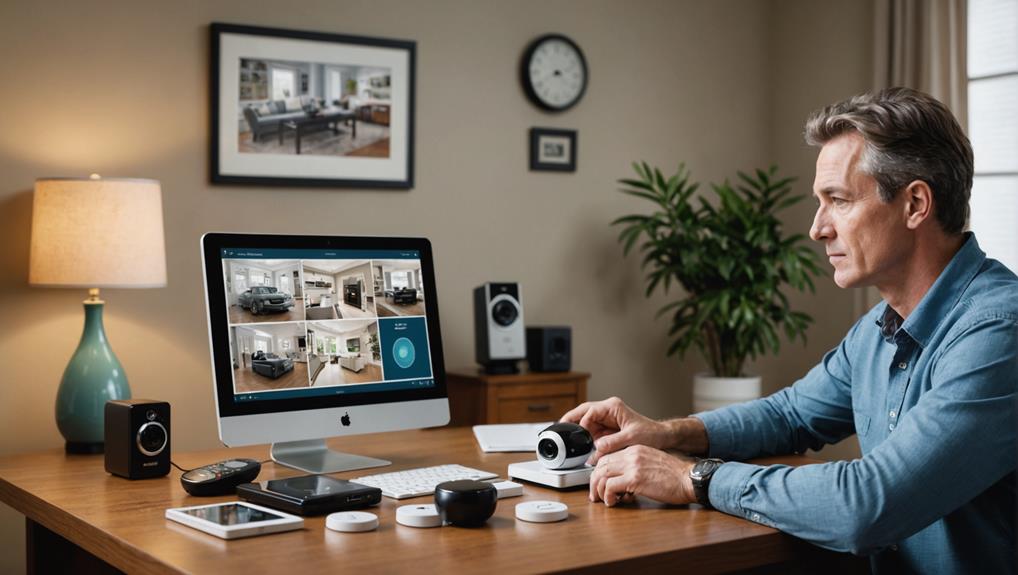
Choosing the right security system is essential to guaranteeing your home stays protected. When selecting a system, consider your specific needs and the layout of your home.
Begin by researching different options, focusing on systems that offer ease of self-installation. Many modern security systems are designed with DIY enthusiasts in mind, providing straightforward instructions and minimal tools required. For a more informed decision, you might want to compare DIY vs. Professional installation options to see which suits you best.
Look for systems that include essential features like motion detectors, door and window sensors, and security cameras. Some systems even offer smart home integration, allowing you to monitor your home from your smartphone.
Check customer reviews and ratings to guarantee the system's reliability and effectiveness.
Pay attention to the system's scalability. If you think you might need to expand your security coverage in the future, choose a system that allows for additional components without requiring extensive modifications.
Also, consider the quality of customer support provided by the manufacturer. Good support can be invaluable when you're maneuvering through a self-installation guide.
Gather Necessary Tools
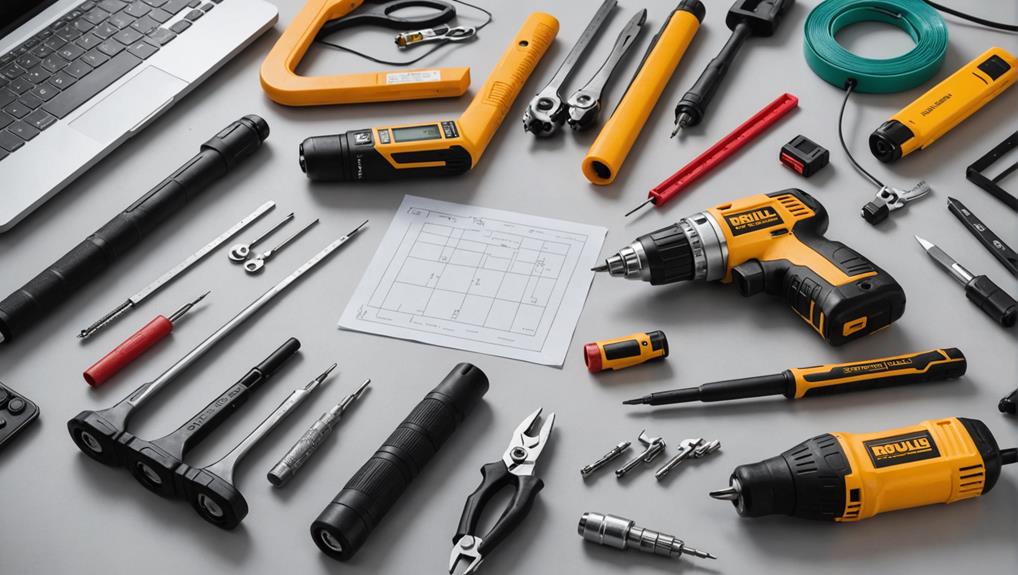
To kick off your installation, gather all the necessary tools to guarantee a smooth process. This step is essential for avoiding installation mistakes and ensuring you can serve others by providing a reliable security system.
Remember to follow best practices for both installation and maintenance to prolong the life of your system. Start by assembling a basic toolkit that includes a drill, screwdrivers, a level, measuring tape, and a pencil. These will be your go-to tools for mounting various components.
Next, make sure you have a ladder if you need to install sensors or cameras in higher locations. It's also helpful to have a stud finder to avoid drilling into weak spots or wiring. If your system involves wiring, you'll need wire strippers and electrical tape for a clean setup.
For a more seamless process, keep a smartphone or tablet handy for following along with DIY security tips and installation guides.
Lastly, double-check that you have all the components of your security system ready to go, like sensors, cameras, and the control panel. Having everything on hand can make the installation less stressful and more efficient.
Plan Sensor Locations
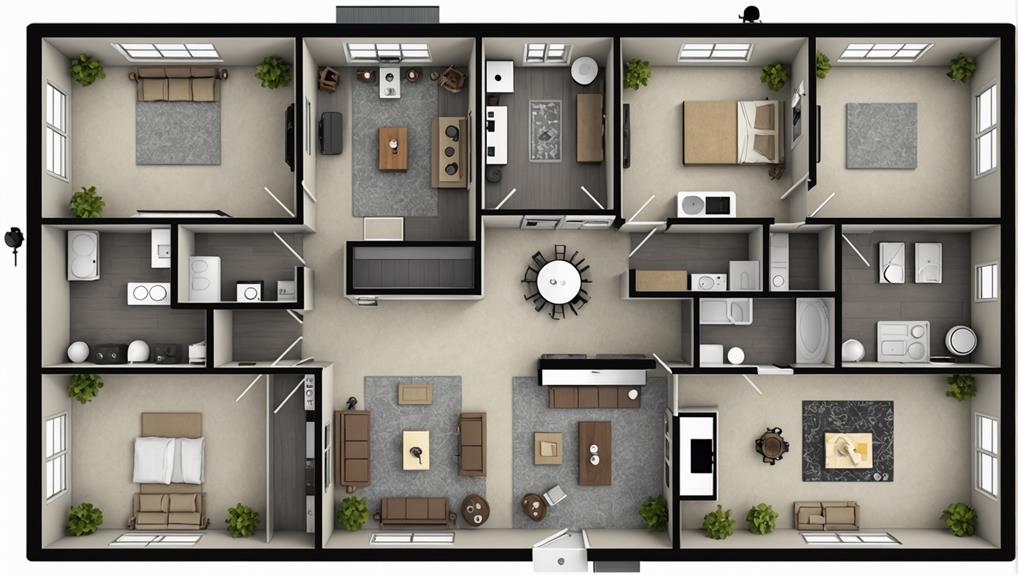
Planning sensor locations is a critical step to guarantee your security system covers all potential entry points and vulnerable areas.
Start by walking through your home and taking note of all doors and windows, including those on upper floors. Intruders often seek the path of least resistance, so don't overlook secondary entrances or basement windows. Ensuring thorough coverage of these entry points greatly enhances the effectiveness of your home security system.
Next, think about high-traffic areas within your home. Hallways, staircases, and large open spaces should have motion sensors to catch any unusual activity.
Placing sensors in the corners of rooms can maximize their coverage and reduce blind spots.
Also, consider areas where valuable items are stored. If you have a home office, safe, or garage with expensive tools, these locations need extra attention.
Smoke detectors and carbon monoxide sensors should be placed in sleeping areas and near kitchens or fireplaces, ensuring safety from both intruders and environmental hazards.
Install the Control Panel
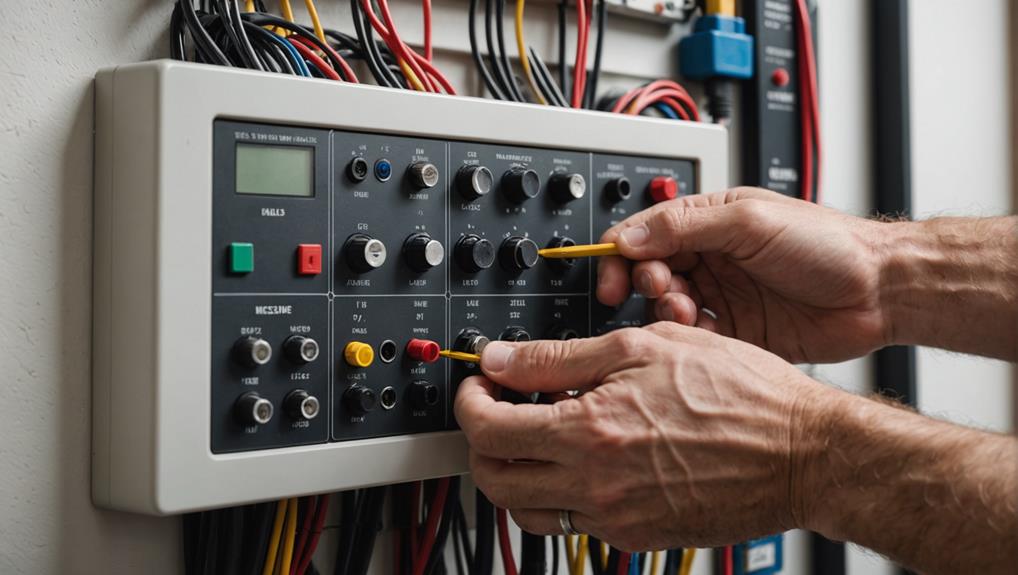
Have you ever wondered what the brain of your security system is? It's the control panel, the central hub where all the magic happens. To install it effectively, start by choosing a convenient location. Ideally, place it near your main entry door for easy access. Confirm it's within reach of a power outlet and far from potential interference sources like metal objects or other electronics.
For additional guidance, you can refer to a detailed guide on installing various components of your security system.
After finding the perfect spot, mount the control panel on the wall. You'll likely have a mounting bracket that needs to be secured first. Use a level to verify it's straight, then mark the holes with a pencil. Drill pilot holes, insert wall anchors, and screw the bracket firmly in place.
Next, connect the control panel to the power supply. Most systems come with a power adapter that plugs into a standard wall outlet. Follow the manufacturer's instructions to verify a secure connection.
Once powered, the control panel will likely prompt you to set it up by following on-screen instructions.
Your control panel is now installed and ready to be configured. It's a crucial step towards securing your home and providing peace of mind for those you serve.
Set Up Cameras and Sensors
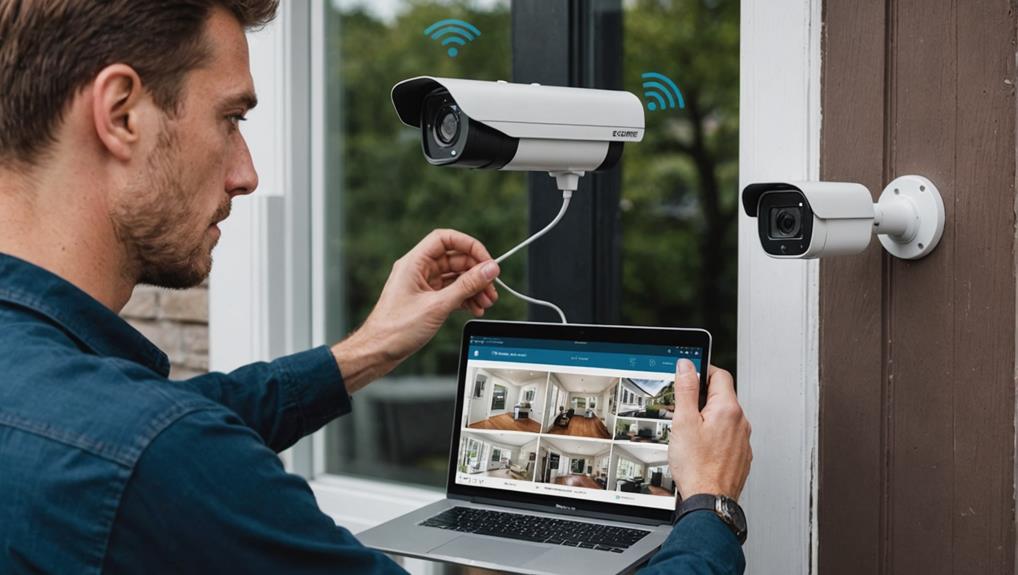
Setting up cameras and sensors is the next important step in fortifying your security system. Start by deciding the strategic locations for your cameras. Focus on entry points like doors and windows, as these are common spots for intrusions. Place cameras high enough to avoid tampering but guarantee they capture clear footage.
Additionally, consider integrating smoke and carbon monoxide detectors as part of your all-encompassing security setup.
Next, mount the cameras securely using the provided brackets or screws. Confirm they're angled correctly to cover the desired areas without blind spots. For outdoor cameras, weatherproofing is essential. Check the camera feeds on your control panel or smartphone app to verify proper positioning.
Now, move on to installing sensors. Door and window sensors should be placed on the frames, ensuring the two parts of each sensor align correctly when closed. This alignment is crucial for the sensors to work accurately.
Motion sensors are best positioned in high-traffic areas and corners, allowing them to cover a wide range.
After placing your sensors, sync them with the control panel. Most systems offer a straightforward pairing process. Follow the manufacturer's instructions to guarantee each sensor communicates effectively with the main hub.
This setup will provide extensive coverage, enhancing your home's security and peace of mind.
Test and Optimize System
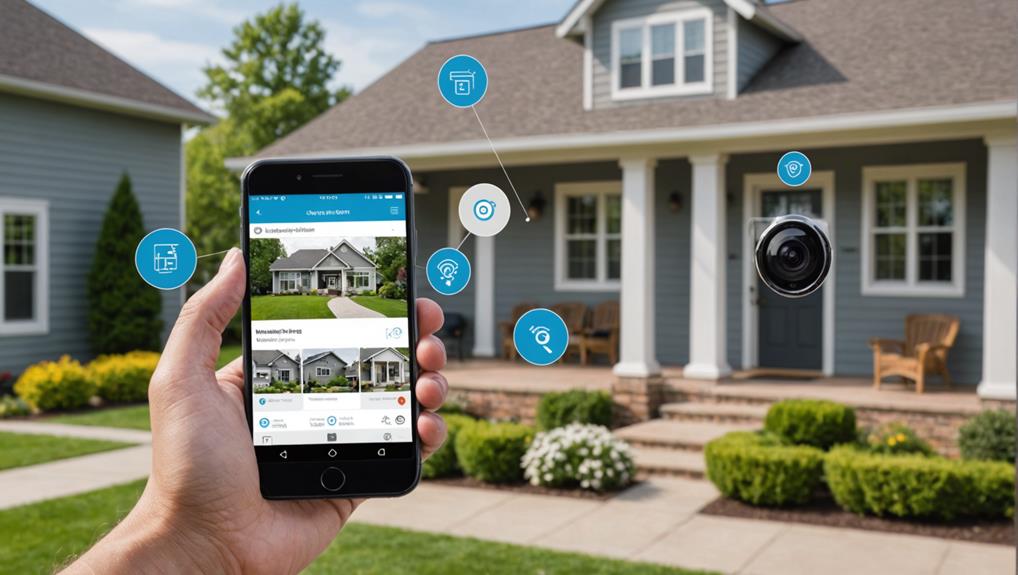
Now that your cameras and sensors are in place, it's time to test and optimize your system.
Start by checking the signal strength to guarantee there's no interference. If you're using a wireless system, make sure that all devices are well within range of your Wi-Fi network.
Then, adjust your camera angles and fine-tune the motion detection settings for maximum coverage and accuracy.
Check Signal Strength
Verifying your security system operates effectively starts with checking its signal strength. This step is essential because a weak signal can compromise the system's reliability, leaving those you aim to protect vulnerable.
Begin by examining the signal strength on your control panel or app. Most systems provide a signal meter that visually indicates the strength. If the signal is weak, it's time to take action.
First, position your router centrally in your home or business to evenly distribute the signal. If you're dealing with obstructions like walls or electronic devices that can interfere, relocating your router or security components might help.
Additionally, consider installing Wi-Fi extenders to boost the signal in areas with poor coverage.
Next, check that your system's firmware is up-to-date. Manufacturers frequently release updates to improve connectivity and performance.
Regular updates guarantee your system runs smoothly and securely.
Adjust Camera Angles
Once you've confirmed strong signal strength, it's time to adjust your camera angles for ideal coverage. Start by standing in the areas you want to monitor and make certain the cameras capture clear, wide views of these spaces. Think about entry points, high-traffic areas, and any spots where valuables are kept.
Position the cameras at a high angle to cover more ground and minimize blind spots. Tilt them downward slightly to guarantee facial recognition and better overall surveillance. Remember to keep your cameras out of reach to prevent tampering or vandalism.
After setting up, check the live feed on your monitoring device. Walk around the monitored areas and observe the footage in real time. Adjust the cameras if necessary to eliminate any gaps in coverage. This step is essential for securing the safety and security of those you're protecting, whether it's your family, friends, or community members.
Also, consider the lighting conditions. Make certain the cameras can handle low light or nighttime settings effectively. If needed, install additional lighting to enhance visibility.
Fine-Tune Motion Detection
Fine-tuning your security system's motion detection settings is essential for minimizing false alarms and guaranteeing accurate monitoring.
Begin by accessing the motion detection settings in your system's app or control panel. Adjust the sensitivity to avoid triggering alarms from minor movements like pets or swaying branches. Aim for a balance that captures significant activity while ignoring irrelevant motion.
Next, define detection zones. This feature allows you to specify areas within the camera's field of view that should trigger alerts. Exclude high-traffic areas like sidewalks or streets to reduce unnecessary notifications. Instead, focus on entry points such as doors and windows where intrusions are more likely.
Test the system by walking through the detection zones. Observe how the system responds and make necessary adjustments. If you're still receiving false alarms, try reducing the sensitivity further or refining the detection zones.
Frequently Asked Questions
What Should I Do if My Security System Triggers False Alarms Frequently?
If your security system triggers false alarms frequently, first check the sensor placement.
Confirm they're not near heat sources or moving objects.
Clean the sensors to remove dust and debris.
Adjust the sensitivity settings and update the system's software.
If the issue persists, consult the manufacturer or a professional.
How Can I Integrate My Security System With Smart Home Devices?
To integrate your security system with smart home devices, start by checking compatibility with your existing smart home hub.
Install the necessary apps on your phone, then follow the pairing instructions for each device.
You'll need to configure settings to guarantee seamless operation and alerts.
Are There Specific Maintenance Tasks to Keep the System Running Smoothly?
Yes, there are specific maintenance tasks you should perform to keep your security system running smoothly.
Regularly check and replace batteries in all devices. Clean cameras and sensors to guarantee clear visibility and accurate detection.
Test the system monthly to confirm everything's functioning correctly. If you're serving others, these steps assure their safety and trust in your commitment to their well-being.
Don't forget to update the system's software.
What Are the Options for Monitoring My Security System Remotely?
To monitor your security system remotely, you've got several great options.
Use a mobile app provided by your system's manufacturer, allowing you to check in anytime.
Consider a professional monitoring service for 24/7 support, ensuring someone's always watching.
Integrate with smart home devices like Amazon Alexa or Google Home for voice control.
These options help you keep an eye on things, ensuring safety and peace of mind for those you care about.
How Can I Enhance My System's Cybersecurity to Prevent Hacking?
To enhance your system's cybersecurity and prevent hacking, start by updating your firmware regularly.
Use strong, unique passwords and change them periodically.
Enable two-factor authentication for an added layer of security.
Guarantee your network is secure by using WPA3 encryption.
Educate yourself on common cyber threats and stay vigilant.
Conclusion
By following this guide, you've taken a significant step toward securing your home. You've assessed your needs, chosen the right system, gathered your tools, planned sensor locations, installed the control panel, set up cameras and sensors, and tested everything. You're now empowered to enjoy a safer, more secure home without relying on professional installers. Remember to regularly check and maintain your system to confirm it stays in peak condition. Great job on taking control of your home security!

