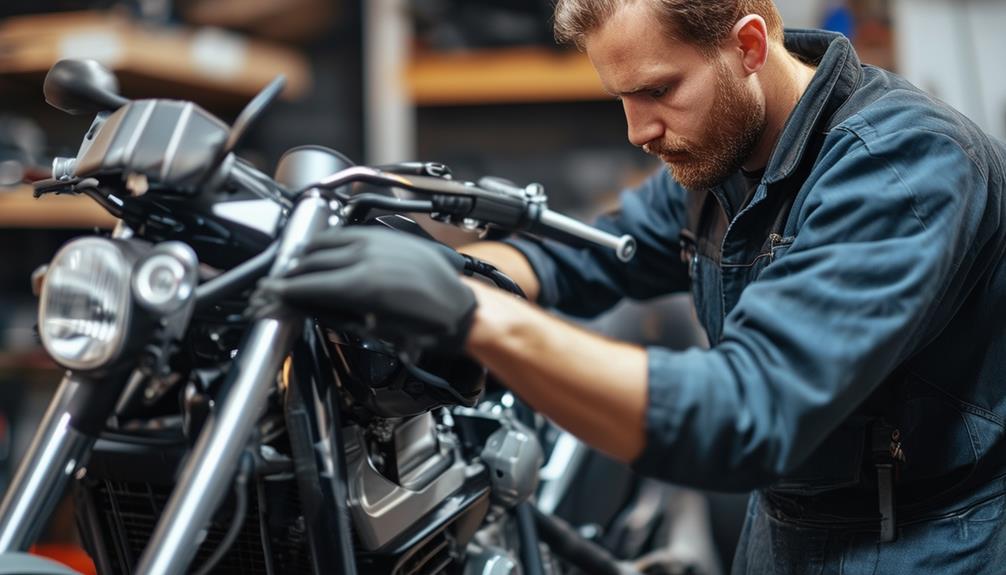
To install crash bars on your motorcycle, begin by gathering essential tools: wrenches, sockets, ratchet handles, hex and Torx bits, and a torque wrench. Clean the mounting surfaces thoroughly. Align the upper mounting hole of the crash bars with the frame, and loosely secure with bolts, washers, and nuts. Install and snug lower bolts for stability. Use a torque wrench to tighten all bolts to the manufacturer's specifications. Perform initial ride tests for stability and inspect all bolts for tightness. Ensuring these steps are followed enhances safety and efficiency—follow these guidelines to better understand the process.
Key Takeaways
- Ensure all necessary tools, including wrenches, sockets, and a torque wrench, are available before starting the crash bar installation.
- Clean mounting surfaces thoroughly to remove debris for proper adhesion and alignment of the crash bars.
- Align and loosely secure the crash bars before tightening all bolts to the manufacturer's specified torque settings.
- Pre-drill holes and use appropriate mounting hardware for secure installation on both metal and wooden doors.
- Conduct post-installation tests and regular inspections to maintain the effectiveness and stability of the crash bars.
PreInstallation Checklist
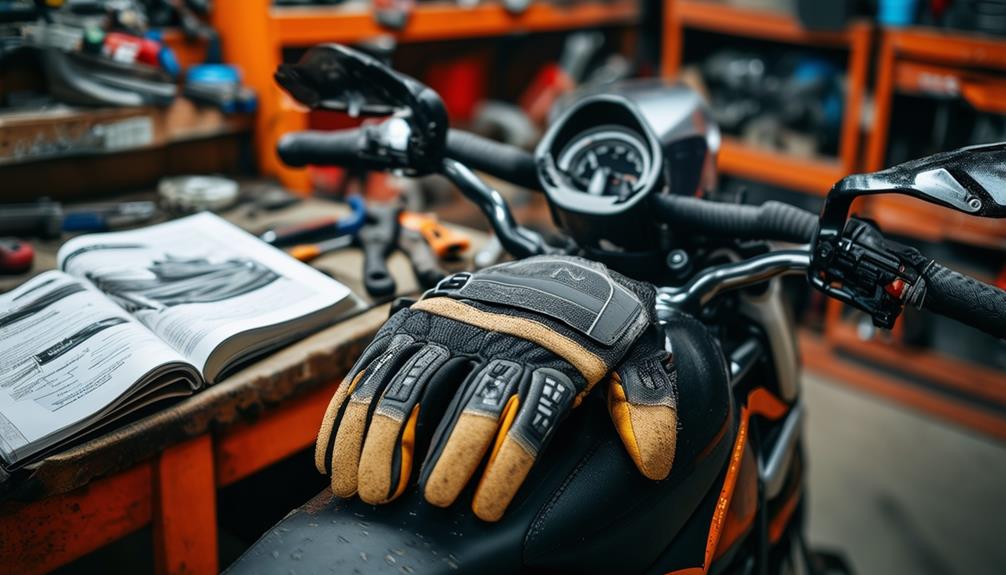
Before you begin installing crash bars, it's vital to complete a thorough preinstallation checklist to guarantee a smooth and successful process. Start by confirming you have the necessary crash bar installation tools, including wrenches, sockets, ratchet handles, large hex and Torx bits, and a calibrated torque wrench. These tools are fundamental for achieving the proper installation of your crash bars. Additionally, it's important to take into account ADA compliance when installing crash bars in public areas, as non-compliant installations can lead to legal issues.
Next, familiarize yourself with the installation manual to understand the specific torque specifications required for your motorcycle's engine mounting bolts. This step is critical to make sure you apply the correct amount of force during installation, preventing potential damage or loosening of the bolts over time.
Clean the mounting surfaces thoroughly before installation. Removing any debris or contaminants will guarantee a proper fit and prevent misalignment. Check if any bodywork needs to be removed to access the mounting points. This can impact your overall installation time and should be planned for in advance.
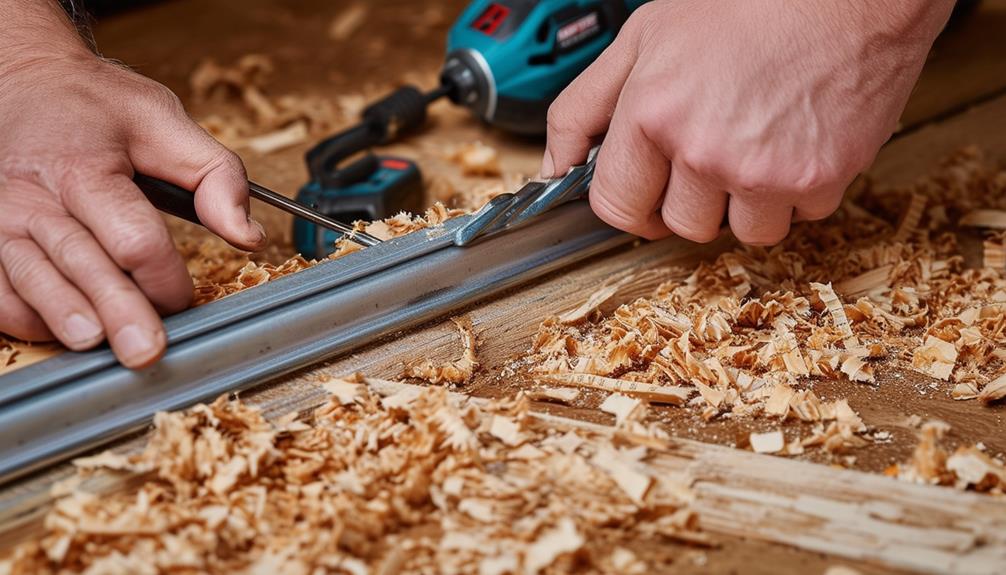
Tools Required
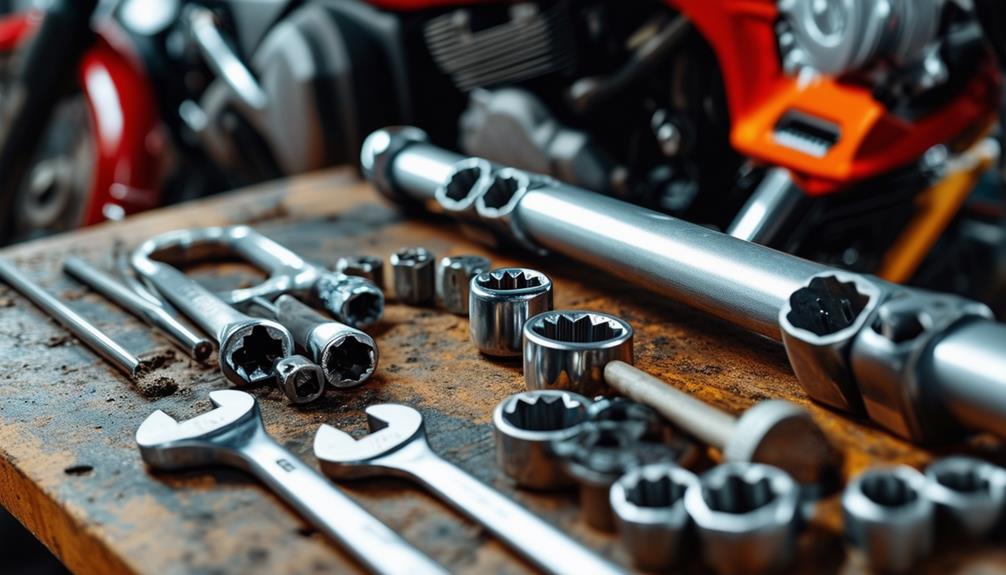
To install crash bars effectively, you'll need a precise set of tools at your disposal. A basic set of wrenches, sockets, ratchet handles, and extensions is vital for this task. These tools will allow you to tackle various fasteners and bolts involved in the process. Large hex and Torx bits are particularly important, as you'll be working with both original and replacement hardware during the installation. If you're interested in the design mechanisms behind these tools, additional resources are available.
A torque wrench is essential for guaranteeing that engine mounting bolts are tightened to the specified torque settings. This is non-negotiable, as improper torque can lead to severe issues. Always refer to your owner's or service manual for the exact specifications. Using a calibrated torque wrench guarantees precision, helping you avoid overtightening and potential damage.
Additionally, having a bottle jack on hand can be invaluable. If your crash bars replace engine mounting bolts, the bottle jack will provide the necessary engine support during the installation. This guarantees stability and safety throughout the process.
StepbyStep Installation Guide
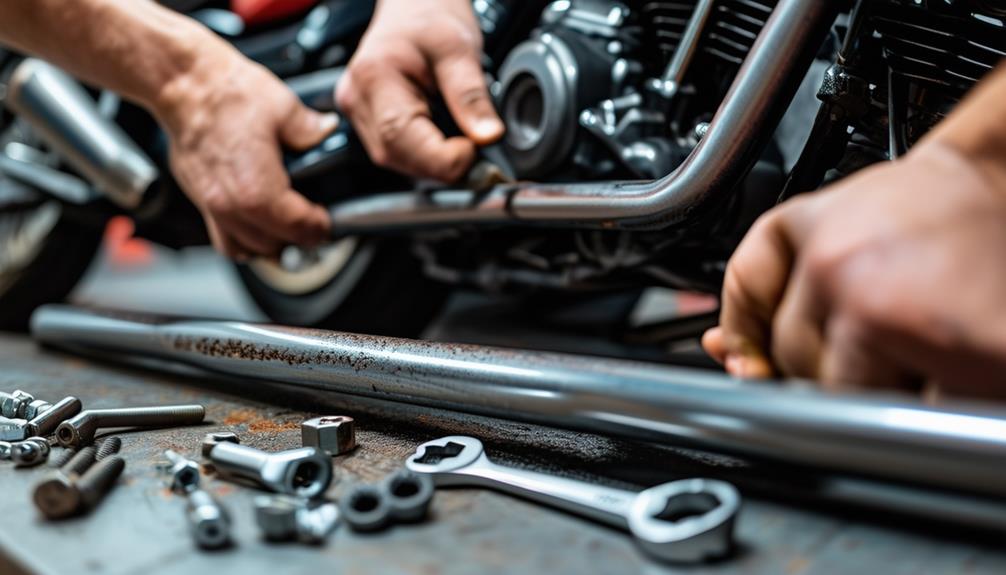
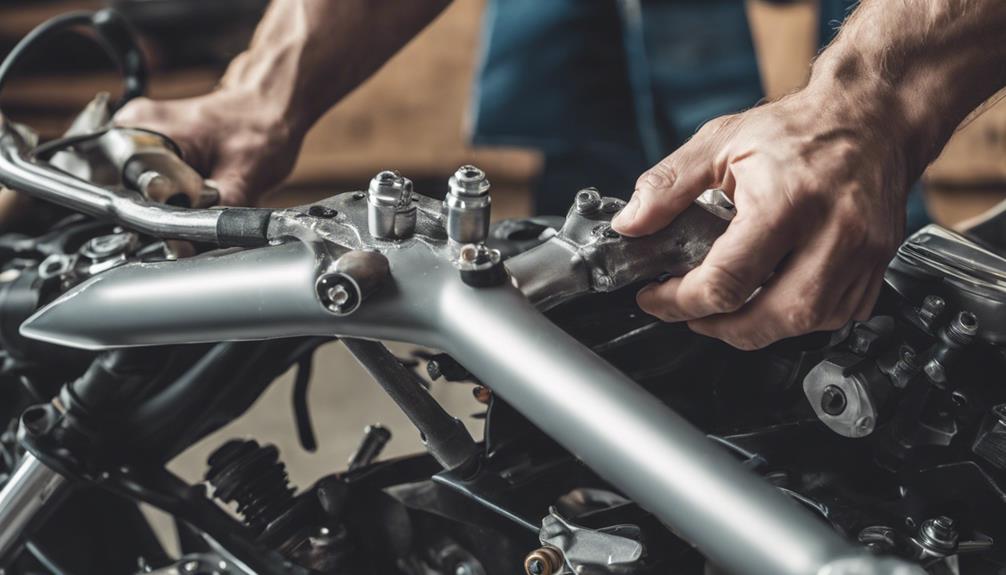
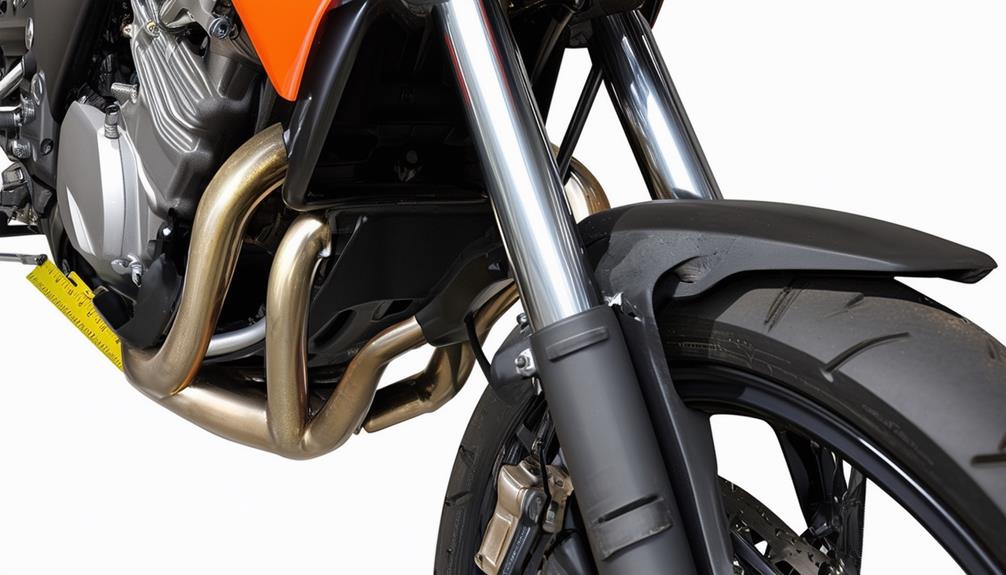
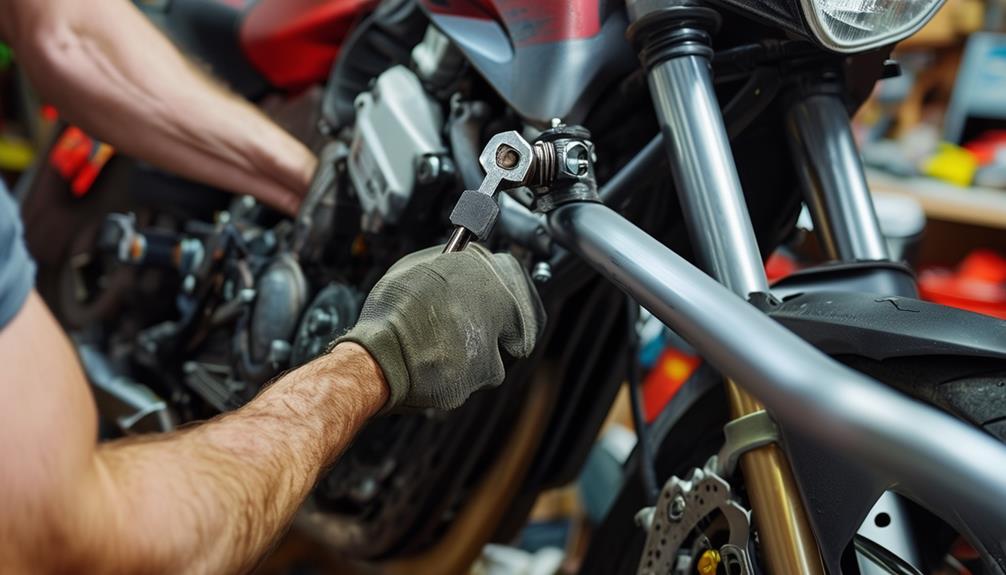
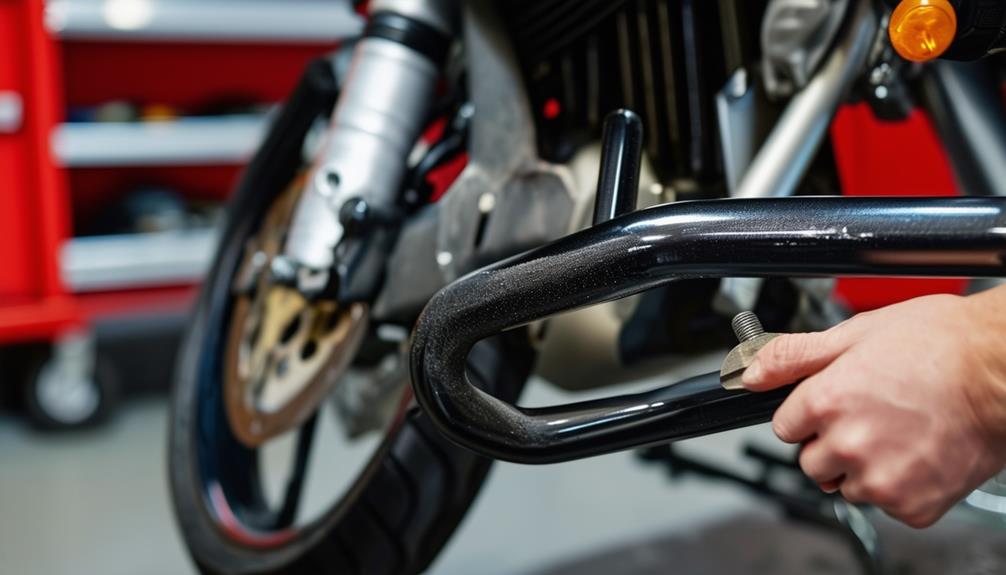
Starting the installation process for crash bars involves a series of precise steps to guarantee both safety and effectiveness. Begin by thoroughly cleaning all surfaces where the crash bars will mount. It's essential to select a material like stainless steel for its resistance to corrosion, which can greatly impact durability. Align the upper mounting hole of the crash bars with the frame and secure it loosely using a bolt, washer, and nut. This initial step guarantees that the crash bars are properly positioned.
Next, proceed with the lower mounting points. Insert the lower bolts through the crash bars and secure them with nuts on the back side. At this stage, it's important to only loosely install these bolts to allow for any necessary adjustments.
After confirming that the crash bars are correctly aligned, snug the lower mounting bolts to stabilize the bars. This will help maintain their position while you prepare for the final tightening.
Using a calibrated torque wrench, tighten all mounting bolts to the manufacturer's specified torque settings. This vital step guarantees the crash bars are securely installed and will perform effectively in the event of an impact.
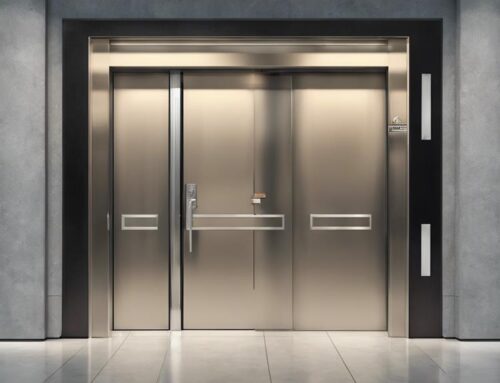
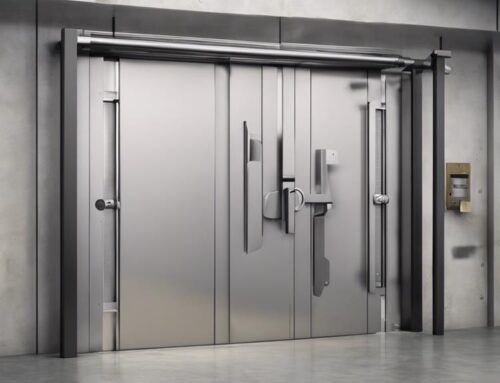
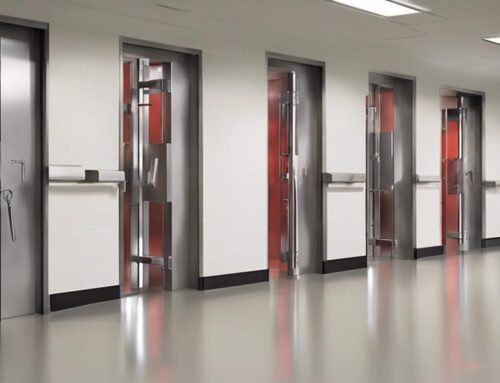
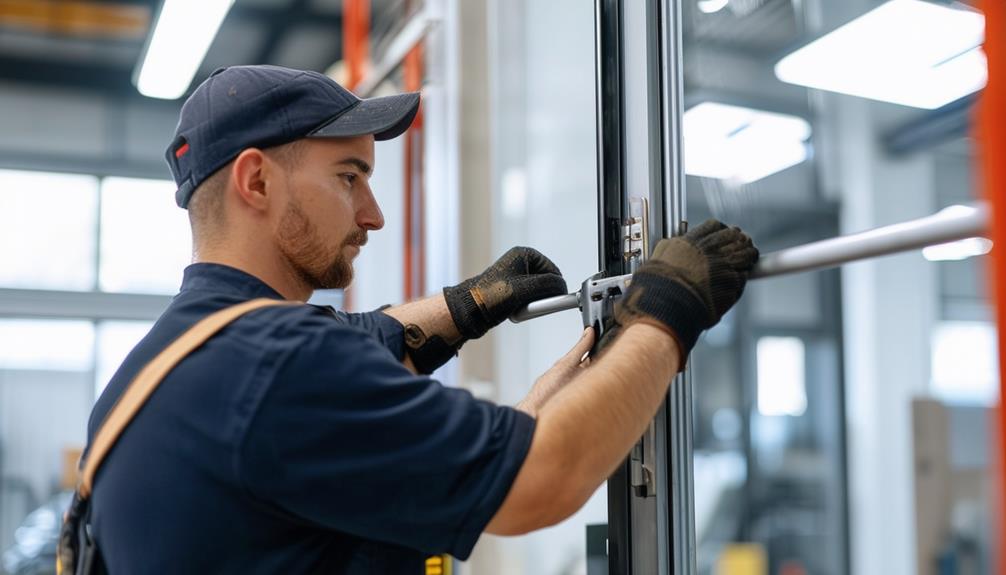
Installation on Metal Doors
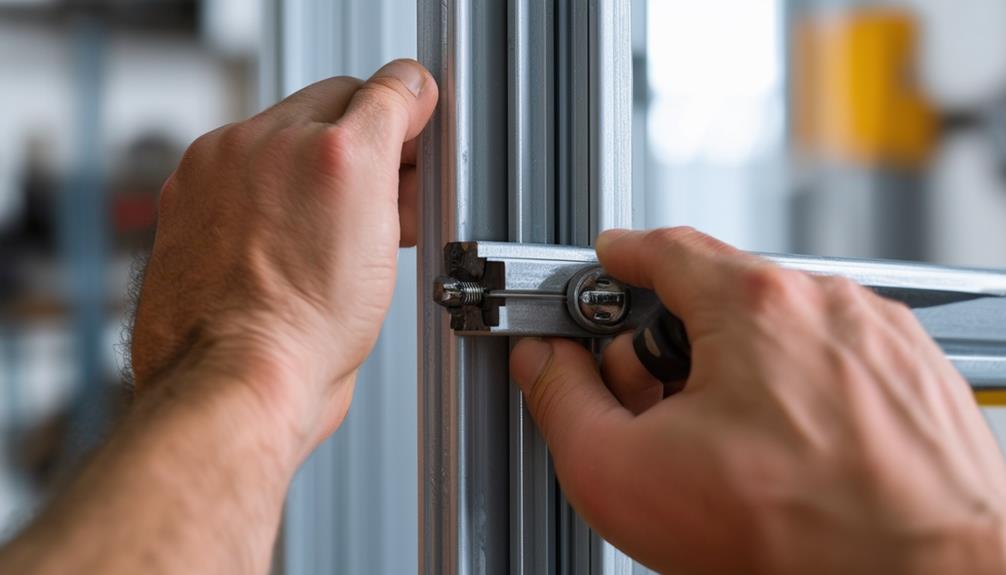
When installing crash bars on metal doors, it's important to confirm you have all necessary tools on hand, including a basic set of wrenches and a torque wrench. First, clean the surface area of the metal door thoroughly. This step is significant to remove any debris or rust that could interfere with the mounting of the crash bars. For additional security, consider using professional services that offer affordable installation to guarantee compliance with safety regulations.
Next, use appropriate mounting hardware specifically designed for metal doors. This guarantees a secure and stable installation, meeting crash bar installation requirements. If the crash bar model requires pre-drilled holes, measure and mark the door carefully. Proper spacing and alignment are crucial for the functionality and safety of the crash bars. Use a drill suited for metal to make these holes, taking care to avoid misalignment.
Once the holes are prepared, attach the crash bars using the mounting hardware. Tighten the bolts to the manufacturer's specified torque using your torque wrench. This prevents over-tightening which could damage the metal door or under-tightening which could lead to instability.
After installation, regularly inspect the crash bars for any signs of looseness or wear, especially after significant use or exposure to harsh conditions. This routine maintenance guarantees continued compliance with crash bar installation requirements and ideal safety.
Installation on Wooden Doors
Installing crash bars on wooden doors requires careful consideration of the door's structural integrity. Begin by evaluating the thickness of your wooden door, as this will dictate the type of mounting hardware required for a secure crash bar installation. Using the proper anchors and screws is vital to guarantee the crash bars can support their own weight without compromising the door. Additionally, it's important to comply with fire safety regulations to make certain the installation meets all necessary codes.
To start, pre-drill holes in the wooden door where the crash bars will be mounted. This prevents the wood from splitting and guarantees precise alignment. Next, use a level to confirm that the crash bars are straight. This step not only provides even protection but also maintains the door's aesthetic.
Once aligned, secure the crash bars with the appropriate screws and anchors. Regular inspections are key, as wooden doors can expand and contract with changes in humidity. This may affect the stability of the crash bars, so periodically check for any signs of loosening or damage.
Mounting Height Considerations
Securing the correct mounting height for crash bars is as significant as fastening them properly on wooden doors. When you're following a crash bar installation guide, you must take into account several factors to guarantee peak performance and appearance.
First, make sure the crash bars have enough clearance from the motorcycle's bodywork and components. This prevents any interference during operation, keeping your ride smooth and unhindered. Additionally, it's essential to think about if you're using specific types of crash bars, as each type might have unique installation requirements.
Second, align the mounting height with the frame. This guarantees the crash bars can effectively distribute impact forces during low-speed slides or falls, protecting both you and your bike.
Third, remember that the mounting height affects the aesthetic appearance of your motorcycle. Properly installed crash bars should complement the overall look and design, enhancing both form and function.
Lastly, consult the manufacturer's installation guidelines. These often contain specific height recommendations tailored to your motorcycle model, ensuring you're adhering to best practices.
Here's a quick checklist to keep in mind:
- Guarantee adequate clearance from bodywork and components.
- Align with the motorcycle frame.
- Complement the bike's overall design.
- Follow the manufacturer's height recommendations.
PostInstallation Testing
Post-installation testing is vital to confirm the stability and effectiveness of your newly installed crash bars. Start by taking your motorcycle for a short ride. This initial ride allows the hardware to settle and guarantees proper alignment. Pay close attention to how the motorcycle handles and listen for any unusual sounds or movements that could indicate improper installation or settling issues. Just like with routine inspections for push bars, it's important to be thorough in your checks.
After your ride, recheck all bolts and hardware for tightness. This step is important; even with correct installation, vibrations can cause components to loosen. Use a torque wrench to verify everything is secure according to the manufacturer's specifications.
Inspect the crash bars for any signs of misalignment or looseness, particularly around the mounting points. A visual inspection will help you catch any potential issues early, preventing further complications down the road.
After a few hundred miles of riding, perform another inspection. Recheck all bolts and hardware again to verify they remain secure. It's wise to incorporate these checks into your regular motorcycle maintenance routine. Consistent monitoring is one of the best crash bar installation tips to maintain ongoing effectiveness and safety. Regularly scheduled inspections will help maintain the integrity of your crash bars, keeping you and your motorcycle protected.
Common Installation Mistakes
One of the most common installation mistakes motorcycle owners make is overtightening bolts during the initial assembly. This can cause misalignment and hinder achieving a secure fit. To avoid this, you should snug the bolts first before fully tightening them. This method is similar to how expert locksmiths handle compliant solutions for business security installations. Another frequent error is failing to join the front half of the crash bars before securing them. This can lead to improper alignment and installation stress, compromising the overall integrity of the setup.
Here are the key mistakes to watch out for:
- Overtightening Bolts: Always snug bolts initially to avoid misalignment.
- Incorrect Assembly Sequence: Join the front half of the crash bars before tightening.
- Not Using a Calibrated Torque Wrench: Vital for engine mounting bolts to guarantee proper tightening and safety.
- Neglecting Post-Installation Checks: Recheck torque after a few hundred miles to prevent loose connections.
Skipping regular inspections for loose or broken bolts, excessive bends, or broken welds can also reduce the effectiveness of crash bars. Regular maintenance is essential to avoid these common crash bar installation mistakes. By adhering to these guidelines, you confirm your crash bars remain a reliable safety feature on your motorcycle.
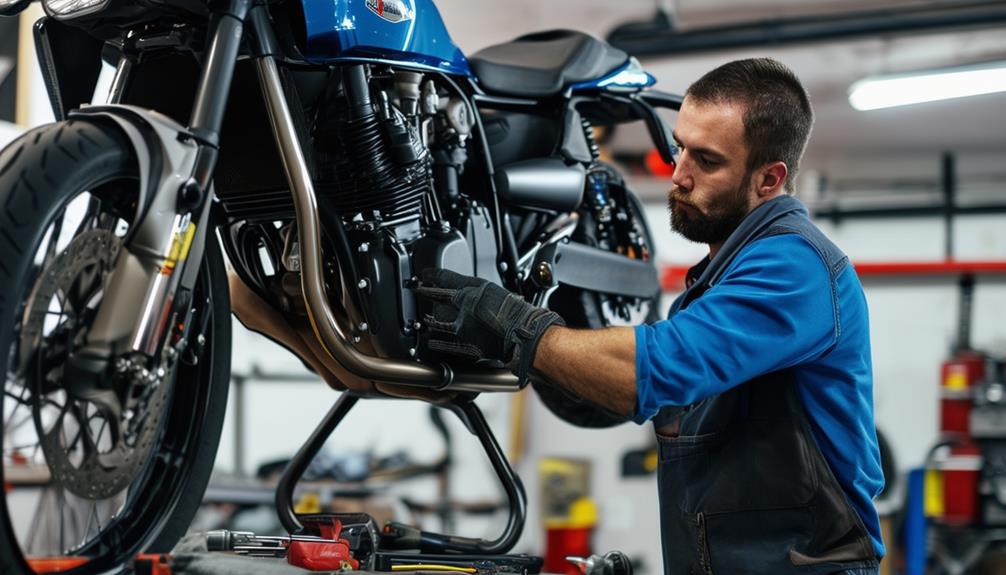
Professional Installation Services
Opting for professional installation services guarantees that your crash bars are mounted securely and correctly, following the specific torque specifications outlined in your motorcycle's service manual. Professional crash bar installation guarantees accuracy and reliability, as experienced technicians not only follow precise procedures but also provide valuable insights and tips. They make necessary adjustments for ideal alignment and performance, enhancing your motorcycle's safety.
Professional services often save you significant time, with installations typically taking 1 to 3 hours. The efficiency comes from technicians being well-versed with various motorcycle designs and any required bodywork removal.
| Benefits | Description | Impact |
|---|---|---|
| Secure Mounting | Adherence to specific torque specifications | Enhanced stability and performance |
| Expert Insights | Technicians provide tips and necessary adjustments | Ideal crash bar alignment |
| Time Efficiency | Installation time of 1 to 3 hours | Convenience and time savings |
| Appropriate Tools | Use of calibrated torque wrenches | Precise and secure installation |
| Post-Installation Check | Guarantees hardware is secure after a test ride | Confidence in functionality and safety |
Utilizing professional installation services means professionals equipped with appropriate tools, such as calibrated torque wrenches, enhance the accuracy of the installation process. Post-installation checks guarantee hardware is secure, functioning as intended, and ready for the road.
DIY Installation Tips
Installing crash bars yourself can be a rewarding experience, provided you follow a few essential guidelines to guarantee a secure and proper fit. To get started with your DIY crash bar installation, make certain you have a basic set of wrenches, sockets, and a torque wrench handy. Accurate tightening is vital, especially for engine mounting bolts. Additionally, it's advisable to familiarize yourself with installation best practices to avoid common mistakes during the process.
Follow these steps for a successful installation:
- Align and Secure: Begin by loosely aligning the upper mounting hole with the frame and secure it first. This step helps avoid misalignment as you proceed to the lower mounting points.
- Join Halves Before Tightening: Join the front half of the crash bars before fully tightening any bolts. This sequence guarantees proper alignment and stability throughout the installation process.
- Tighten in Sequence: Tighten the hardware in a specified sequence to maintain the alignment and secure fit of the crash bars.
- Test Ride and Retorque: After the initial installation, take a test ride to allow the hardware to settle. Check the torque again after a few hundred miles to make certain everything remains secure.
Regularly inspect the crash bars for loose bolts, bends, or broken welds as part of your yearly maintenance to ensure they continue to provide adequate protection.
Professional Crash Bar Installation Services by Low Rate Locksmith
Ever wondered why professional crash bar installation services are worth considering? Low Rate Locksmith provides exceptional expertise to guarantee your crash bars are installed with precision. When you opt for professional crash bar installation services, you benefit from proper alignment and secure fitting, which greatly reduces the risk of misalignment—a common issue with DIY attempts. Additionally, they assure compliance with fire safety regulations that are vital for any commercial space.
Technicians from Low Rate Locksmith offer the essential support your engine needs during the installation, particularly if your crash bars replace engine mounting bolts. This guarantees both safety and stability throughout the process. Additionally, they utilize a calibrated torque wrench to tighten all bolts to the manufacturer's specifications, enhancing the durability and reliability of the installation.
Post-installation, professionals conduct thorough inspections to identify any loose bolts or potential issues, which is vital for maintaining the integrity of your crash bars. Low Rate Locksmith also provides follow-up checks after a few hundred miles of use to reassess bolt torque and overall installation integrity. This ongoing support guarantees that your crash bars remain secure and effective over time.
Choosing professional crash bar installation services from Low Rate Locksmith not only assures a precise and safe installation but also offers peace of mind through thorough follow-up care.
Frequently Asked Questions
Can I Install Crash Bars Myself?
Yes, you can install crash bars yourself. Allocate 1 to 3 hours and gather basic tools like wrenches, sockets, and a torque wrench. Start by loosely joining the front half to prevent misalignment. Follow the specific torque specs in your manual and use a calibrated torque wrench for engine bolts. After installation, ride to let hardware settle. Check the torque again after a few hundred miles for security. Regular inspections are essential.
Are Engine Crash Bars Worth It?
Imagine your motorcycle as a knight in armor; crash bars are the shield that guards against minor blows. Engine crash bars are worth it because they protect key components like fenders and fuel tanks during low-speed incidents. While they won't save you in high-impact crashes, their ability to absorb minor impacts can prevent costly repairs. Regular maintenance guarantees they stay effective, providing peace of mind every time you ride.
What Is the Point of a Crash Bar?
A crash bar's point is to protect your motorcycle's essential components, like fenders and fuel tanks, during low-speed slides and falls. It prevents cosmetic damage in minor incidents and is designed to bend upon impact, absorbing shock rather than breaking. Regular inspection and maintenance are vital to guarantee effectiveness. While not for high-impact protection, crash bars safeguard against everyday mishaps, preserving your bike's integrity.
What Do Crash Bars Do on a Truck?
Crash bars on a truck absorb impact energy during low-speed collisions, protecting critical components like fenders and headlights. They add structural support, enhancing durability and safety. Engineered to deform under stress, crash bars prevent severe damage in accidents. Aesthetically, they give your truck a rugged, aggressive look. For off-road enthusiasts and those driving in rugged conditions, crash bars are essential for maintaining your vehicle's integrity and appearance.
Conclusion
You've got the guide, gear, and grit to install crash bars confidently. Whether working with metal or wood, meticulous measurement guarantees success. Avoid common mistakes by double-checking details. If DIY sounds intimidating, dedicated professionals at Low Rate Locksmith deliver dependable, detailed installations. Remember, readiness and repetition are essential. You're now prepared to protect with precision, providing safety and security with every step. Happy installing!